Affinity Designer: Curved Arrow
Curved arrows are often used for purposes of labelling and illustration.
In this tutorial, we will learn how to create a curved arrow in Affinity Designer.
1) Launch Affinity Designer.
2) Next, create a new document (press ⌘ + N).

If you wish to work on a transparent background, check the Transparent background checkbox in the Color section of the dialog box which pops up.
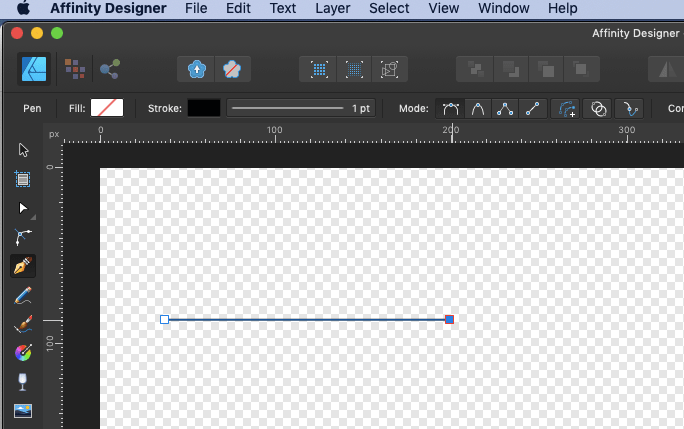
3) We first draw a straight line. Pick the Pen Tool (press P) and trace out a horizntal line, press SHIFT while tracing it out for a perfect horizontal line.
4) Click on the Stroke tool on the Context Toolbar. A panel opens up. You will find the Start and End controls, from where you can select the styles for the arrow head to be at the start or end of your line stroke. For positioning of the arrow head, you can choose either Place arrow within the line or Place arrow at the end of the line.
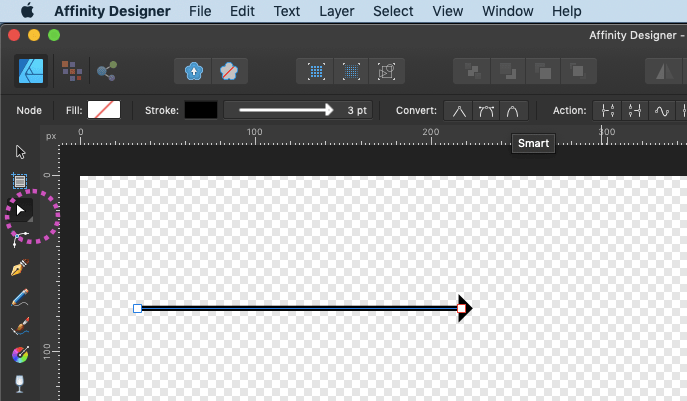
5) Now, to make the arrow head look more pronounced, we increase the width of the stroke to 3pt. Next, click on the Start or End control (depending on where you require the arrow head to appear), and a dropdown list of arrow head styles pops up. Choose the arrow head you fancy.
6) We apply the arrow head towards the end of the line (right).
Curved Arrow
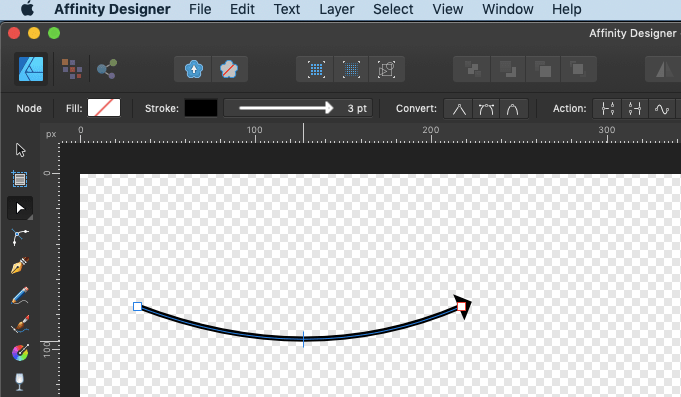
7) To make this line curved, first select the Node Tool (press A) and click on the line.
8) Press the mouse somewhere in the middle of the line and slowly drag it down/up as you wish the curve to bend. We get our curved arrow.