Affinity Designer: Gradient Background
In this tutorial, you will learn how to create gradient backgrounds on any shape in Serif's Affinity Designer.
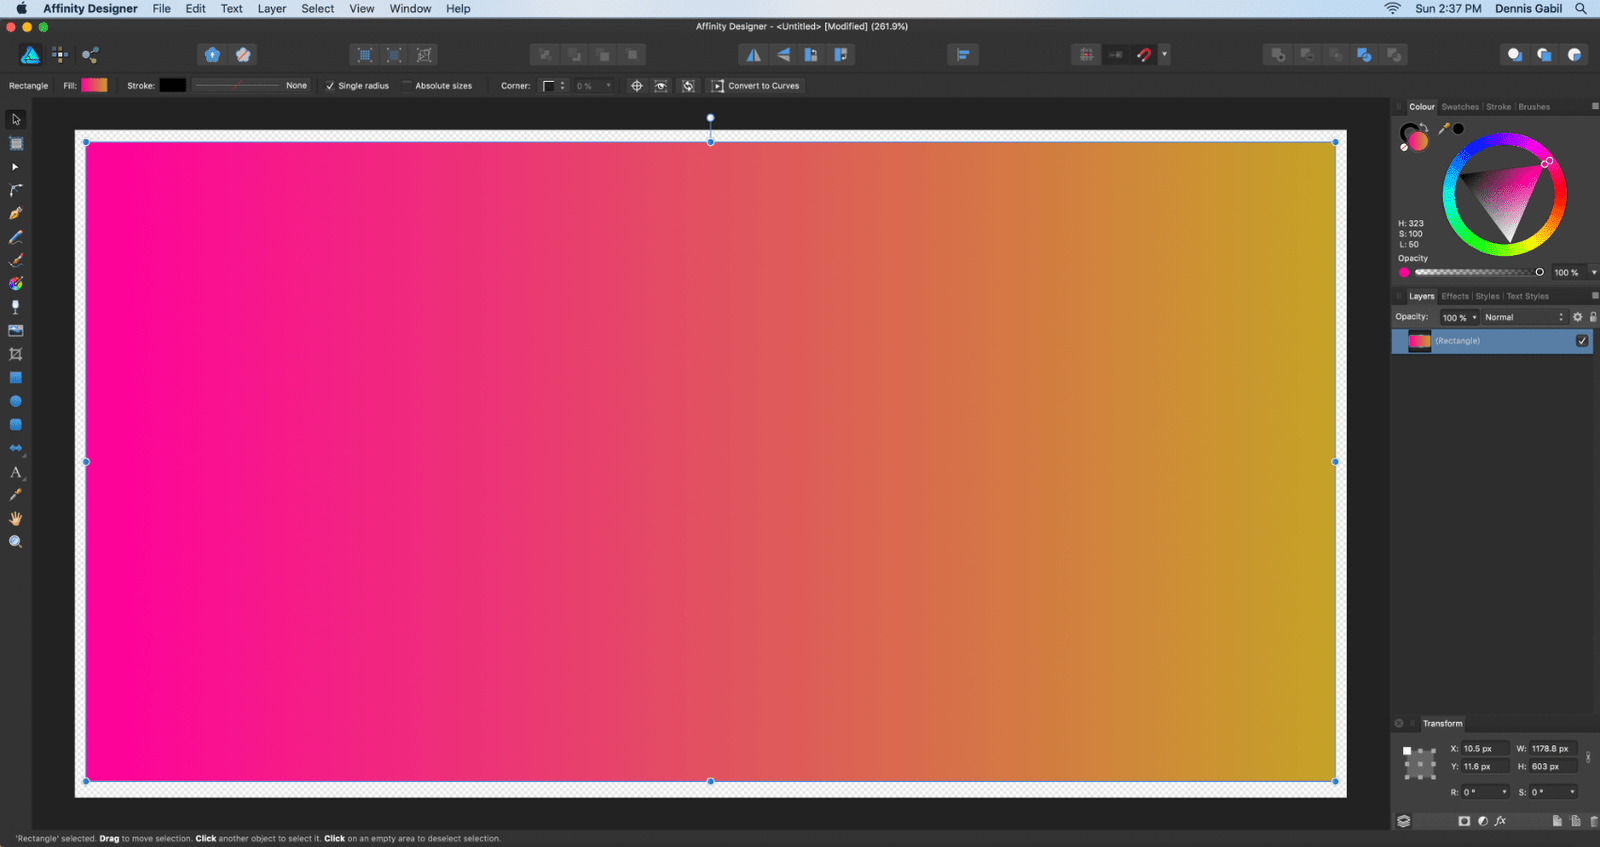
We will first create a linear gradient background on a rectangle shape, as shown below. In linear gradients, colour transitions flow along a straight line, from the start point to the end, known as colour stops.
1) Launch Affinty Designer. By default, you will be in the Draw Persona.
2) Next, create a document. Then pick the Rectangle tool and draw a rectangle over the document.
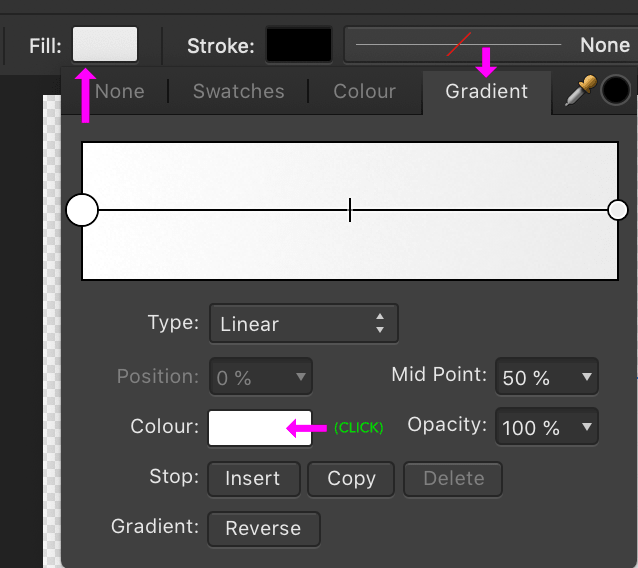
3) Click on the Fill tool in the Context Toolbar and the Gradient tab after it. Next click on the Colour swatch. A panel pops up, where you can choose/change your colour.
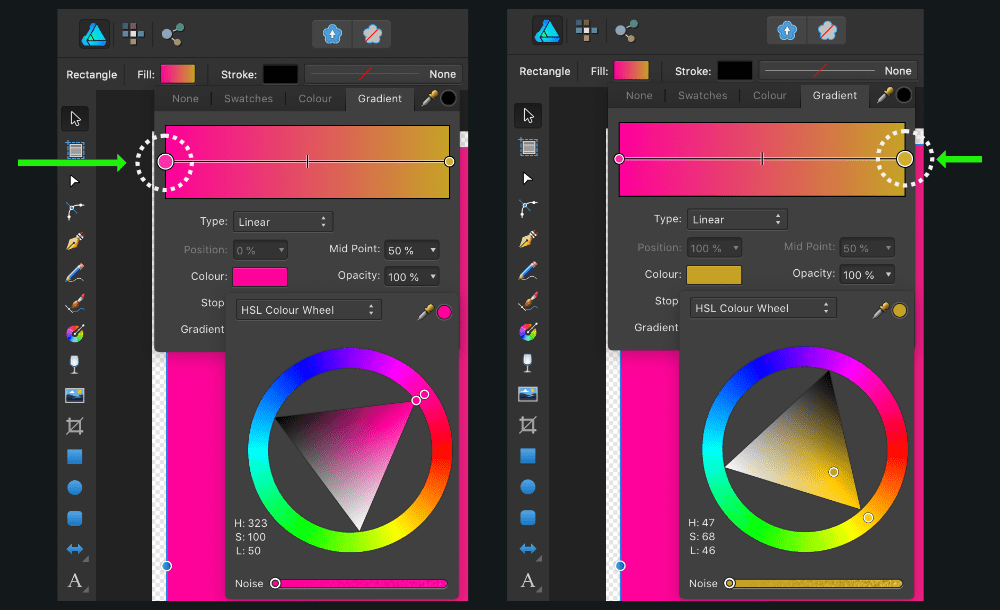
4) Now in the Gradient Panel there will appear two gradient points on the edges of the line across it. They are known as colour-stop points. Click on the desired colour-stop point and on the Colour swatch after it. A panel will pop up where you can choose/modify the existing colour. Here we choose the colours H: 323, S: 100, L: 50 (#FF009C) and H: 47, S: 68, L: 46 (#C5A326) for the start and end points of the gradient respectively.
Multicolor Gradients
We can create gradient backgrounds with more than two colours. For that, we need to introduce multi-position colour stops.
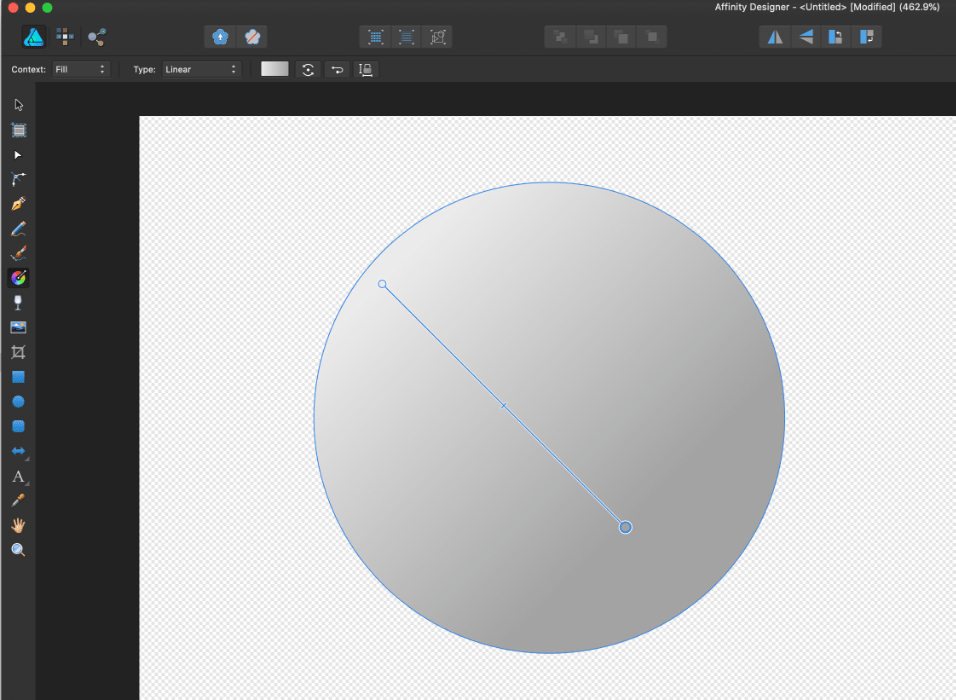
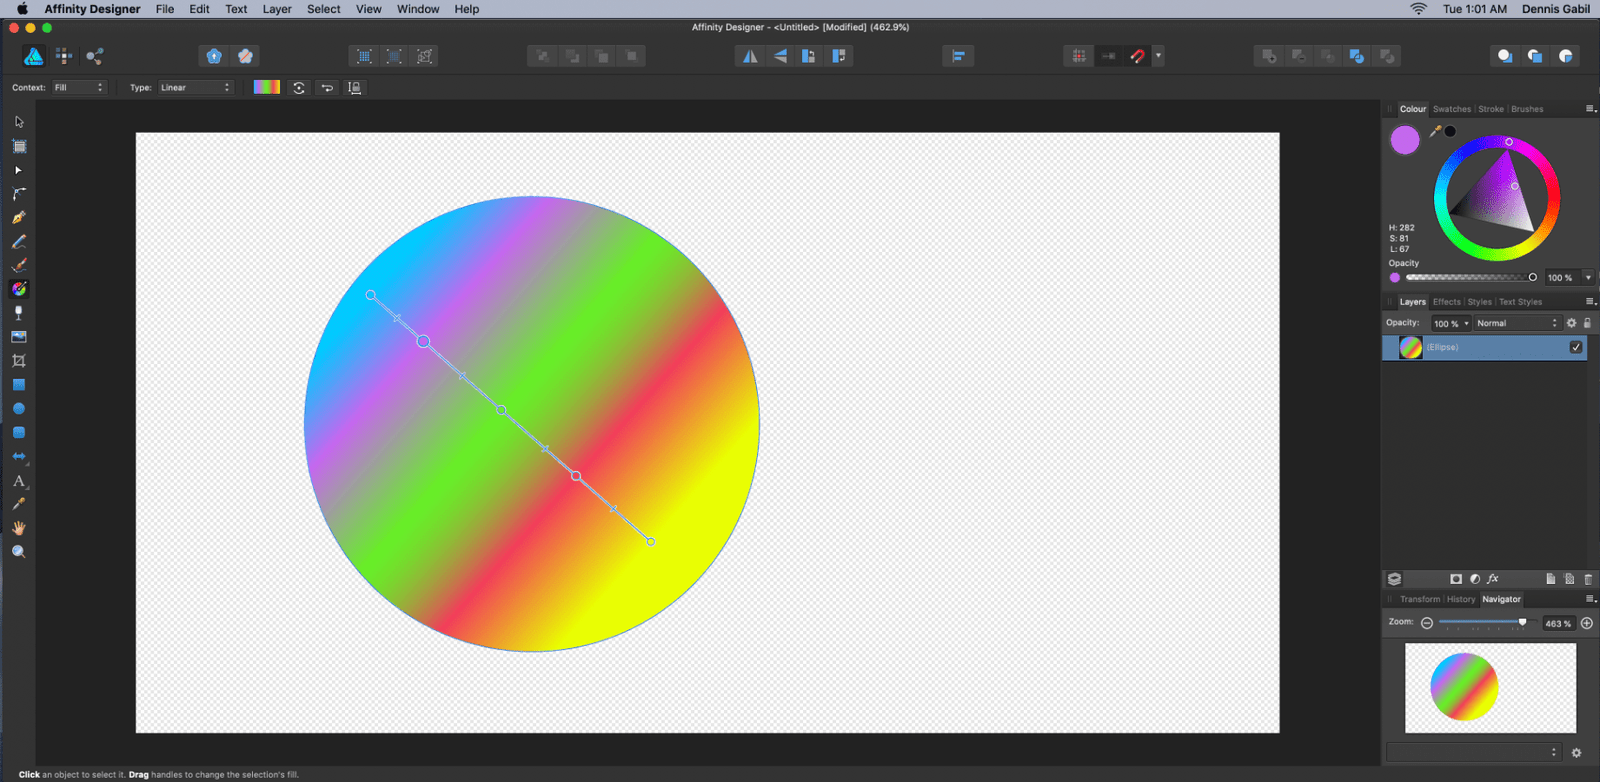
1) We will try it on a different shape. Let us pick a circle. Pick the Ellipse Tool (or Press M) and trace out a circle, pressing along the SHIFT key.
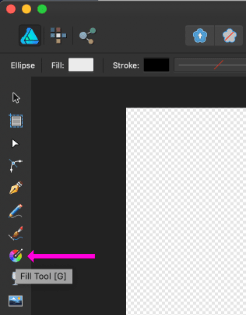
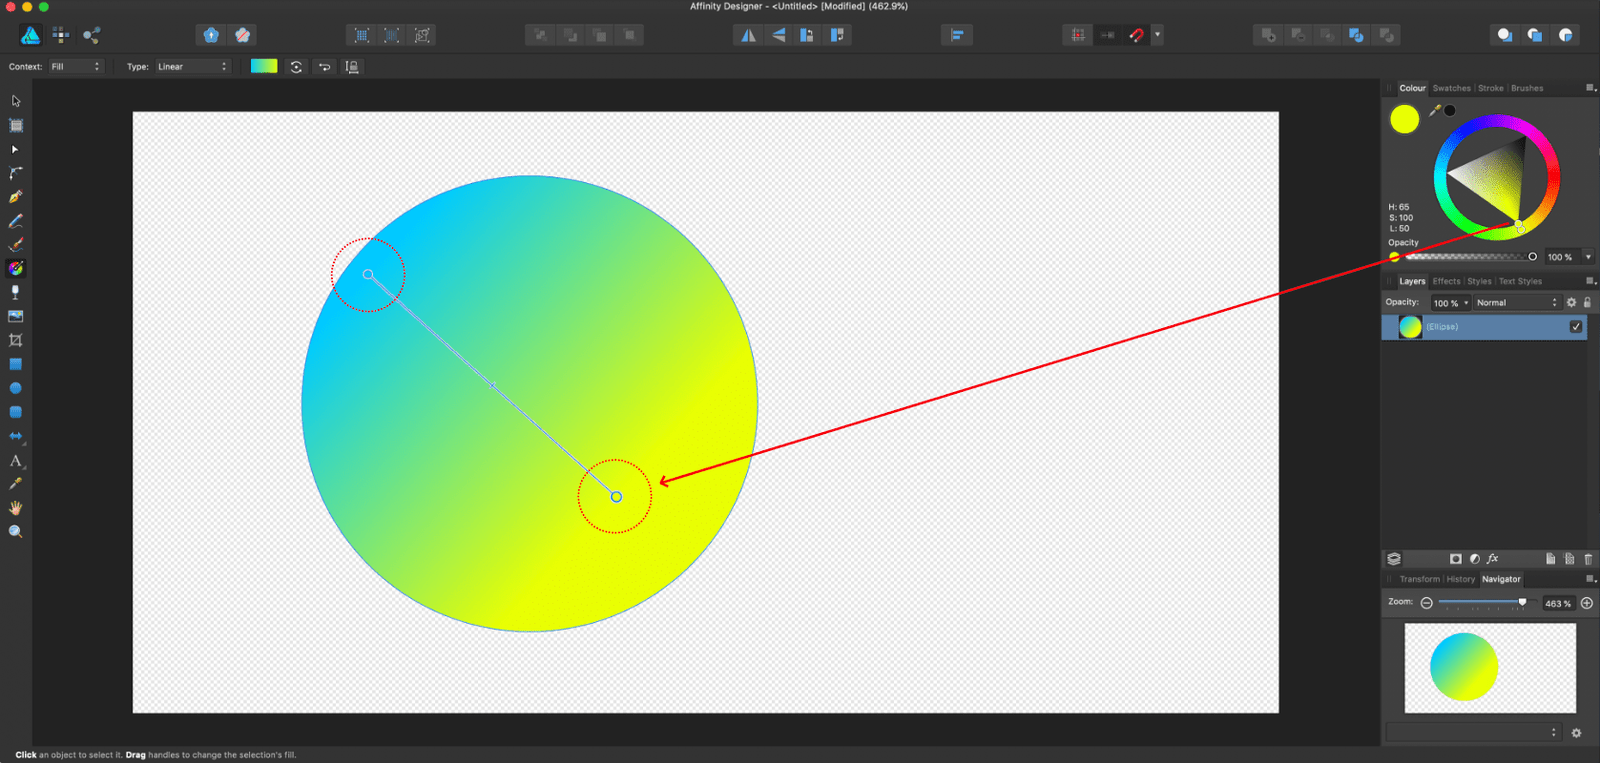
2) Next, pick the Fill Tool (or Press G).
3) Click on the circle and drag across the area in the direction along the motion of the mouse; that is the direction along which you wish the gradient to flow.
4) There will appear the start and end points of the gradient, on each of which you can click and choose colours from the HSL Colour Wheel in the Colour panel.
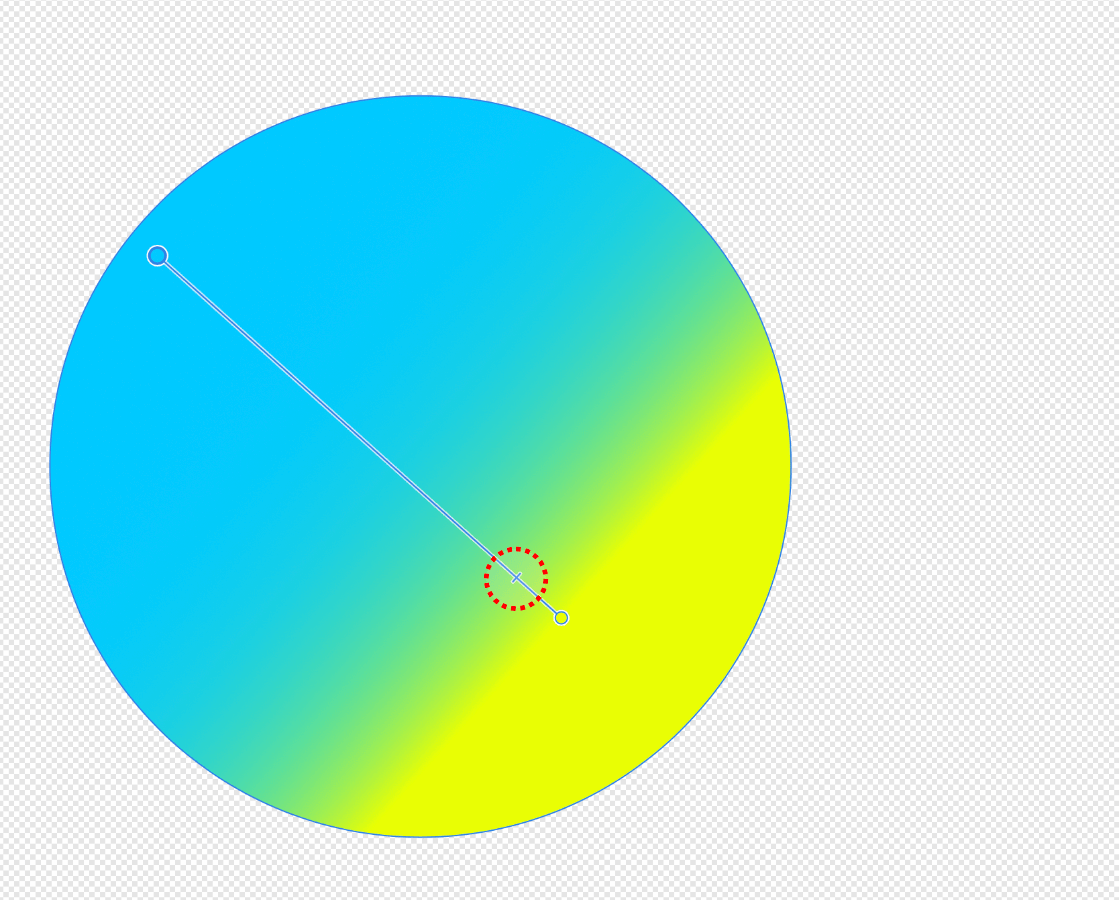
5) Notice the slider between the gradient points. You can drag it to manipulate the gradient spread between the colour-stop points.
6) Click on the points along the line where you wish to introduce colour-stops. The points will appear as dots.
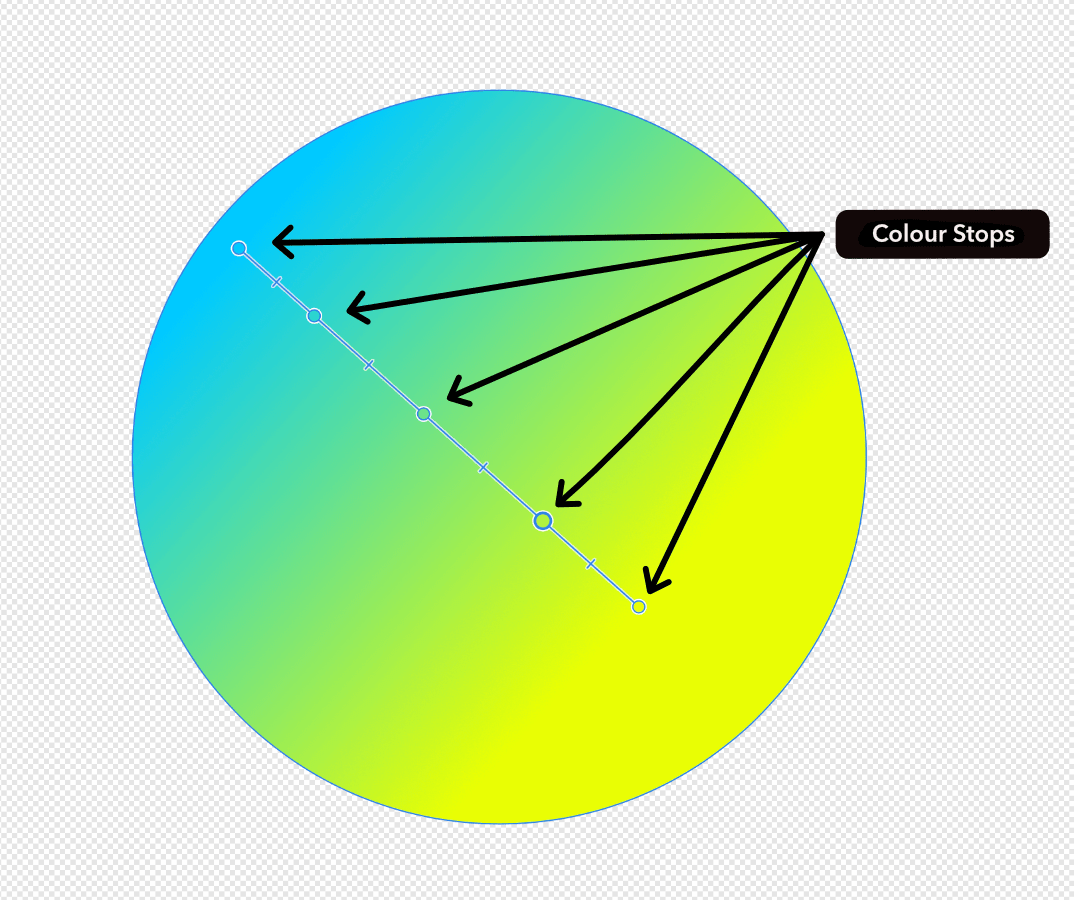
7) Click on those colour-stops and choose colours from the HSL Colour Wheel in the Colour panel.
Conical Gradient
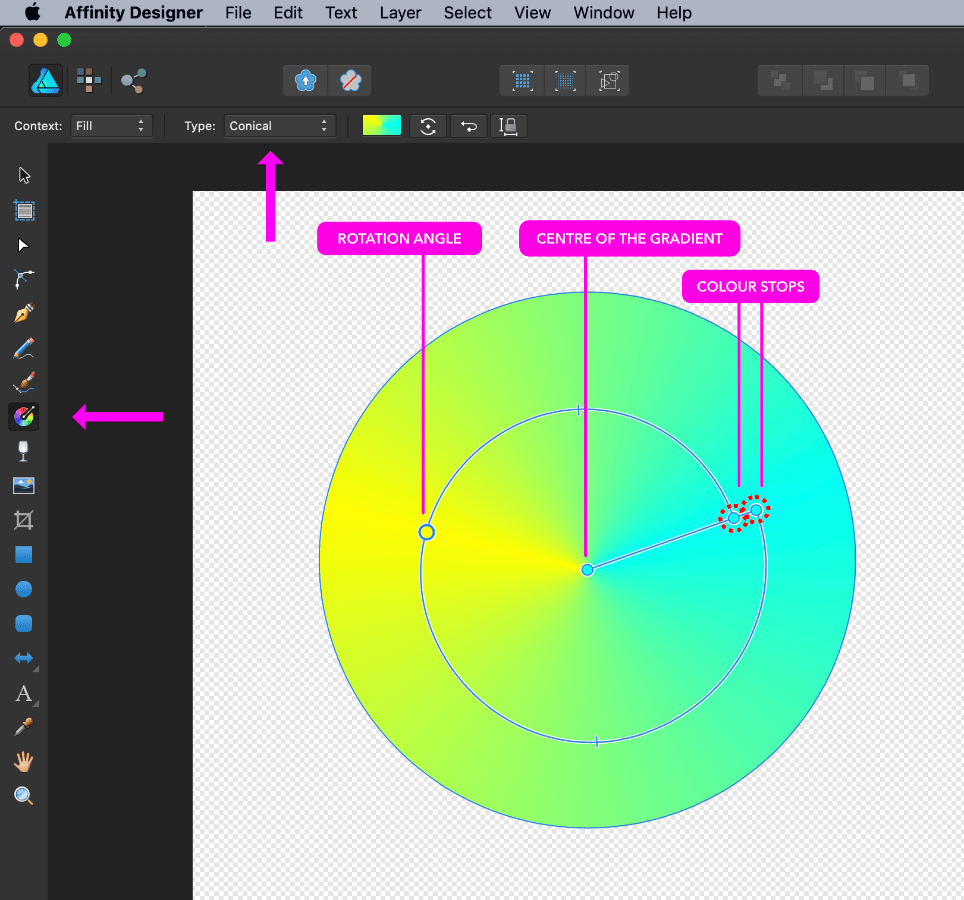
What we have been creating in the above sections were all linear gradients. If you click on the side Fill Tool and check the Type in the Context Toolbar, you will see that it is Linear. Affinity Designer have options for other types of gradients as well. Here, we choose Conical.
As you can see, a conical gradient resembles a cone when viewed from the top. The colour stops are similar to the sectors the hands of a clock would swipe; they occur along an angle. Three points specify a conical gradient:
- Rotation Angle
- Centre of the Gradient
- Colour Stops
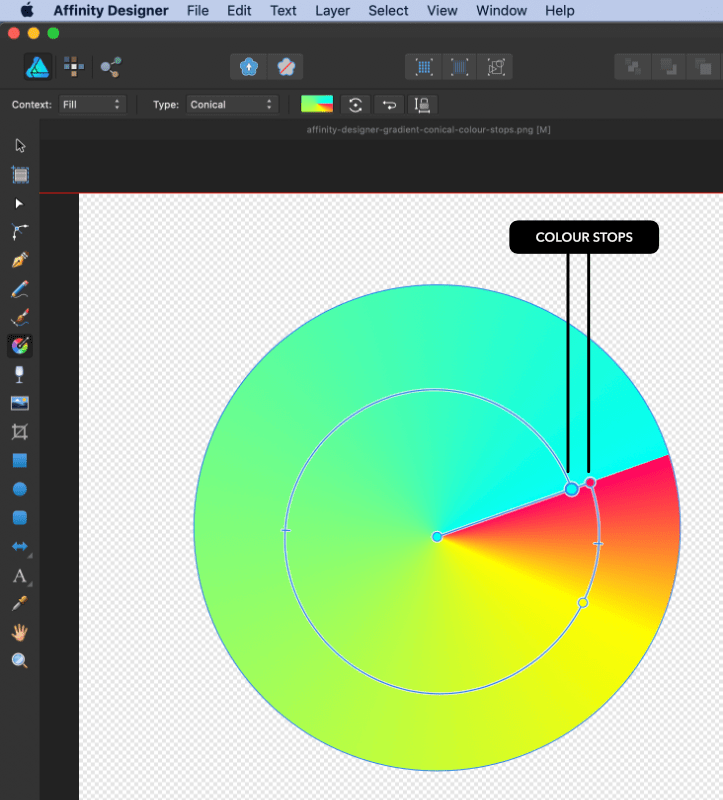
You might have noticed that the two colour stops on the right sitting closeby to each other looked similar. That's because, the start and end colour stops for a conical gradient are usually supposed to be the same.
But to see the difference, click on the stops and choose contrasting colours. Now you'll see it.
Radial Gradient
Radial gradient is similar to conical gradient, just that the gradient line emerges from the centre of the gradient. Here is the difference between a conical gradient and a radial gradient: the colour-stops of a conical gradient are specified by angles while those of a radial gradient are specified by lengths.
