Affinity Photo: Swap/Blend Face
We all have come across some popular images wherein the faces are swapped or blended with someone else's. It could be a thumbnail in some serious article, a funny meme, some caricature or your friend trying out for fun.
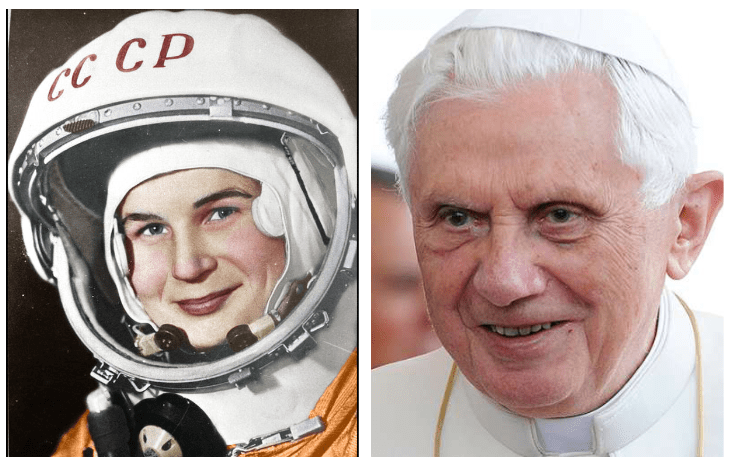
In this tutorial, you will learn exactly how to do that: how to swap faces using Affinity Photo. We will replace the face of Valentina Tereshkova (L) with that of Pope Benedict XVI (R).
1) Launch Affinity Photo.
2) Click File > Open... and open the photos of Valentina Tereshkova and Pope Benedict XVI.

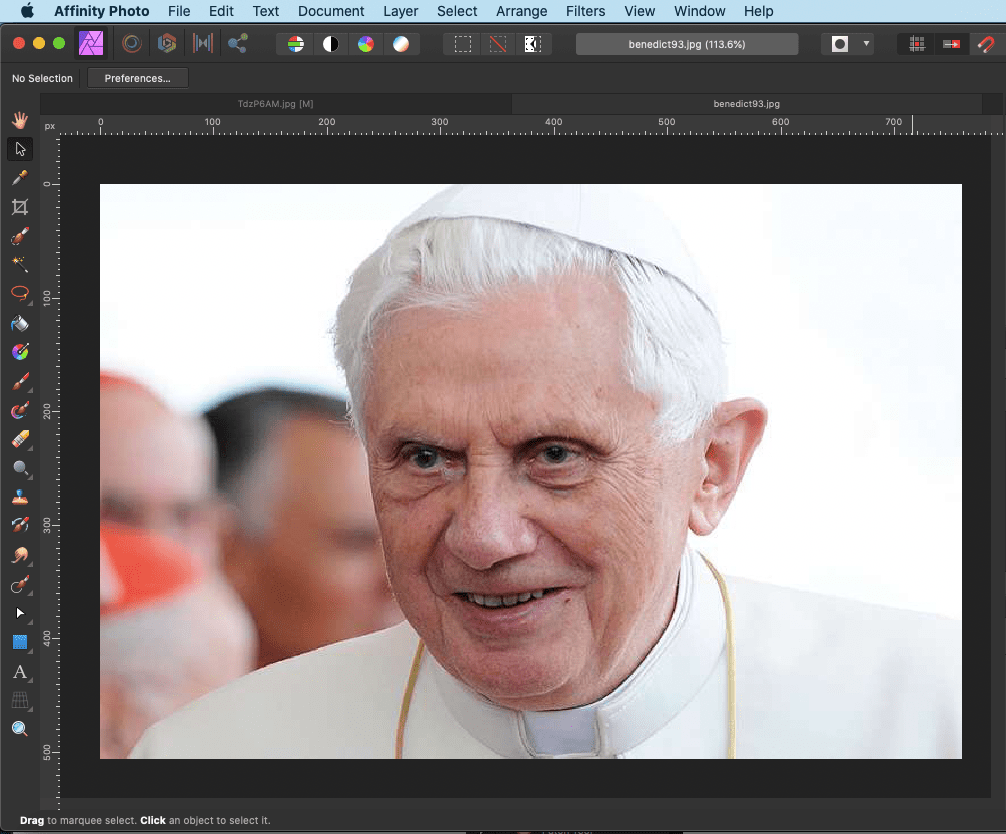
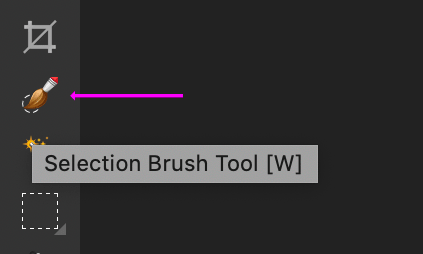
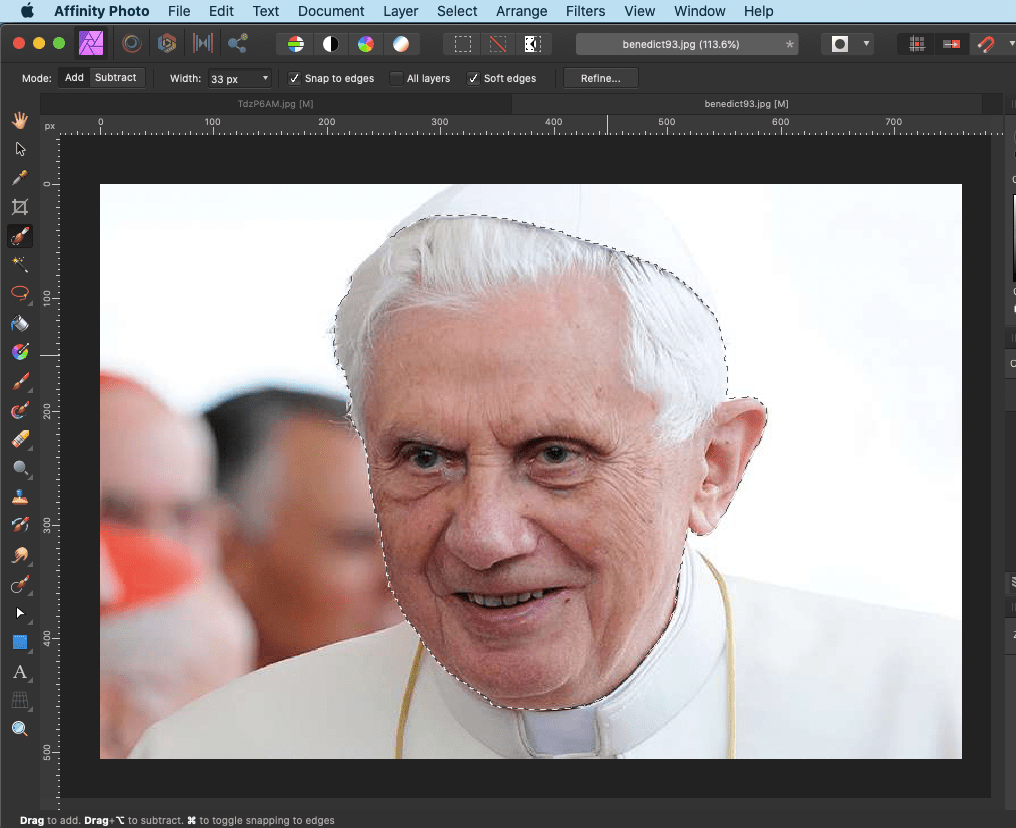
3) By default, you will be in the Photo Persona. Click on the Selection Brush Tool.
4) Set a sizeable width in the Context Toolbar and drag over the portion you want to extract and trace out a selection. If there are extra spills in the selection, click on the Subtract button and reduce them.
5) We need not refine this selection as its edges are going to be under another layer. Copy & paste the selected area onto the targetted image.

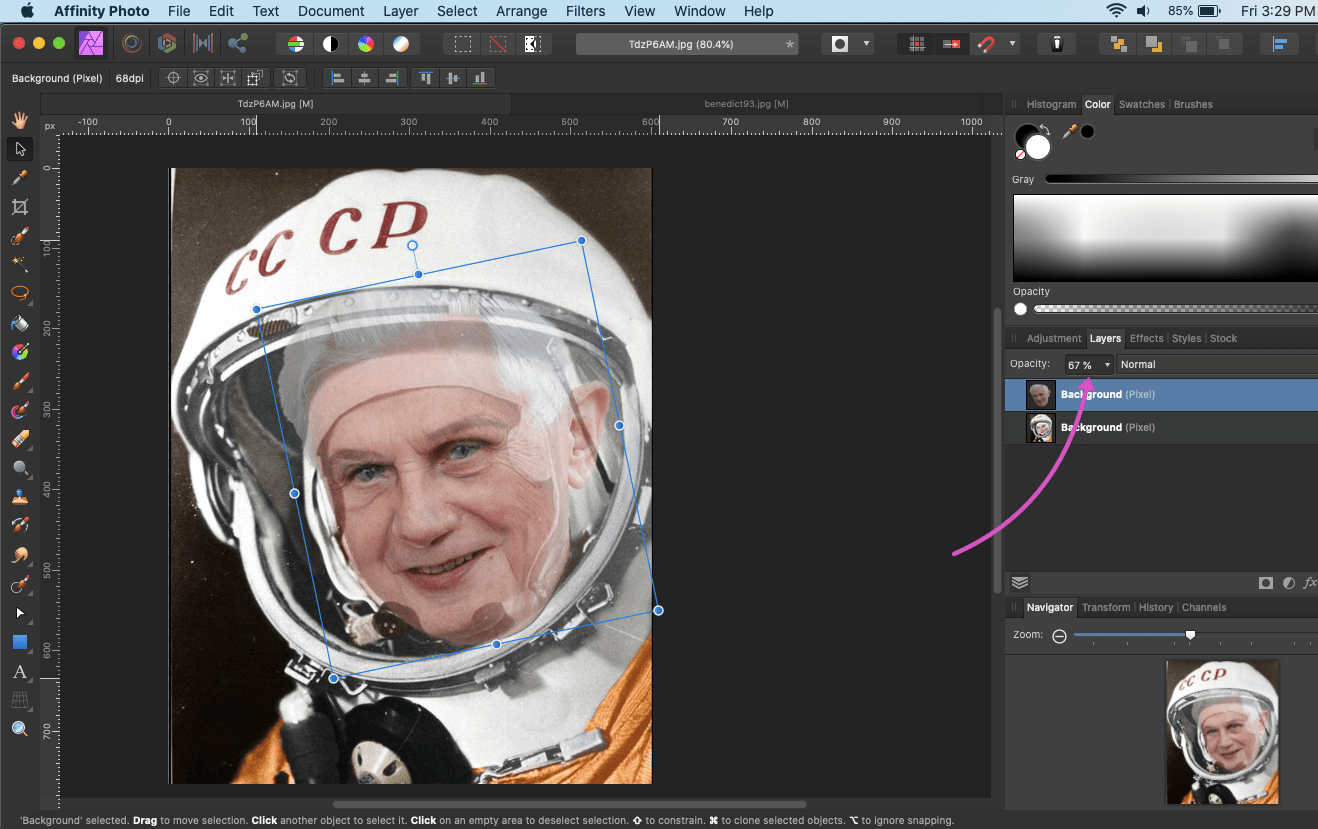
6) Reduce the opacity of the pasted layer (here I reduced to around 67%). Resize, rotate and align it to scale to Tereshkova's face; it is actually practical to align around the eyes.
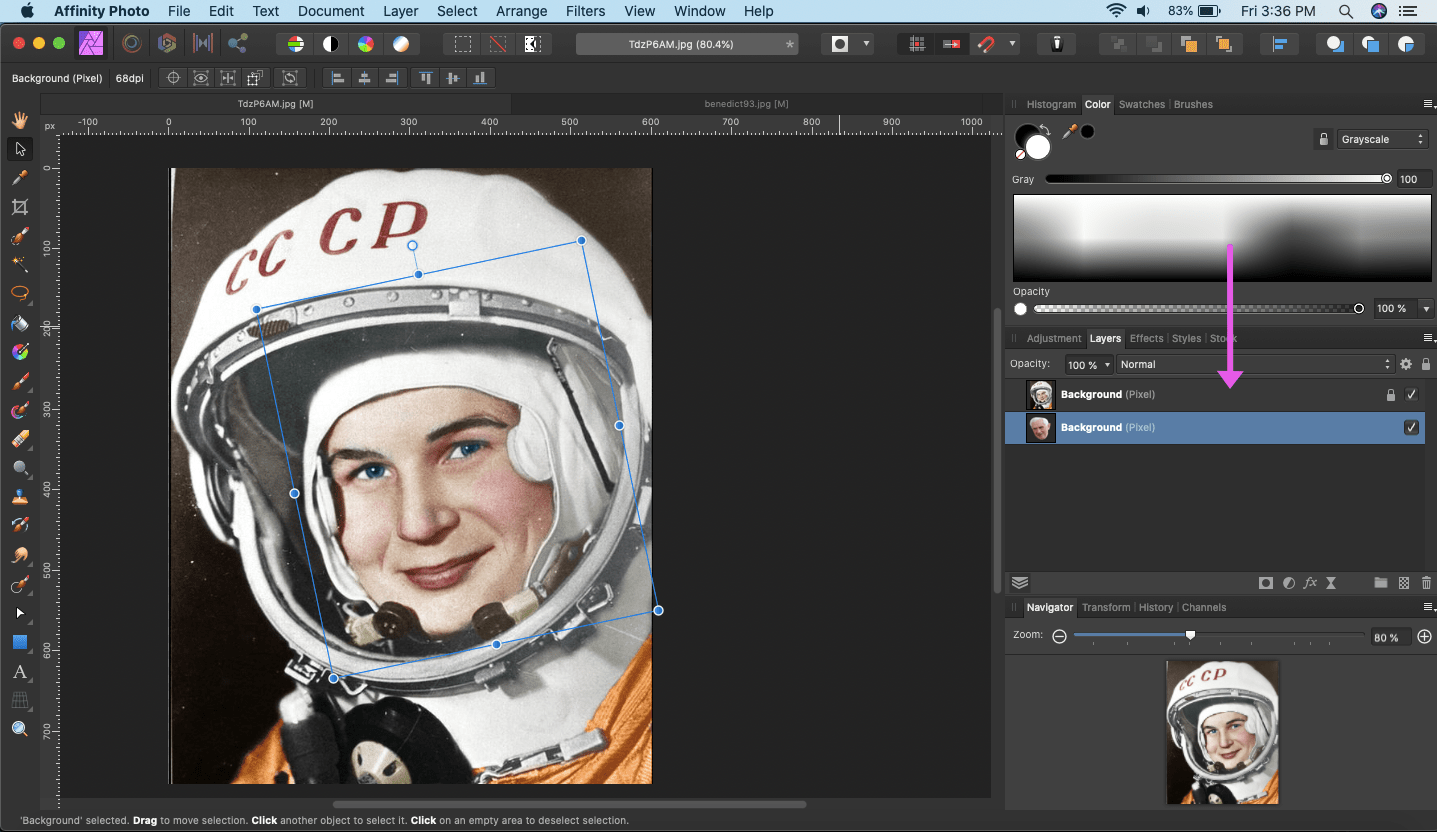
7) Set the image opacity of Benedict XVI back to 100% and drag it below the original layer.
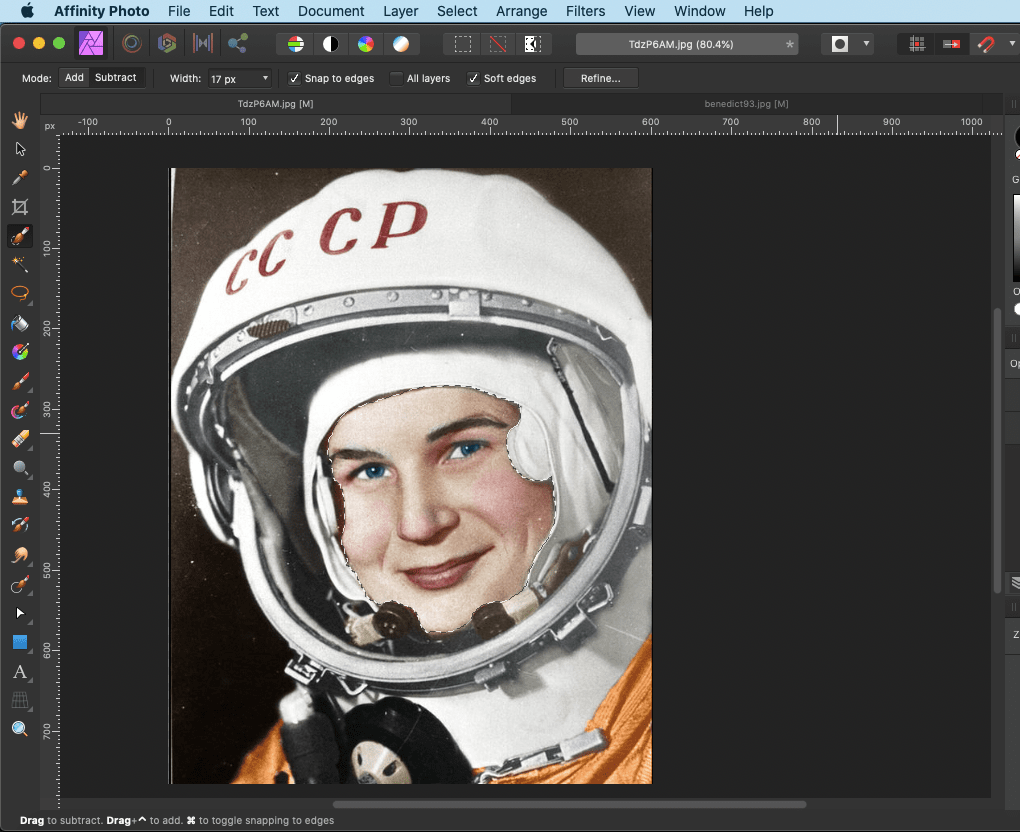
8) Next, pick the Selection Brush Tool and select the face of Valentina Tereshkova which is the portion targetted for deletion. If there are extra spills in areas of selection, click on the Subtract button and reduce them.
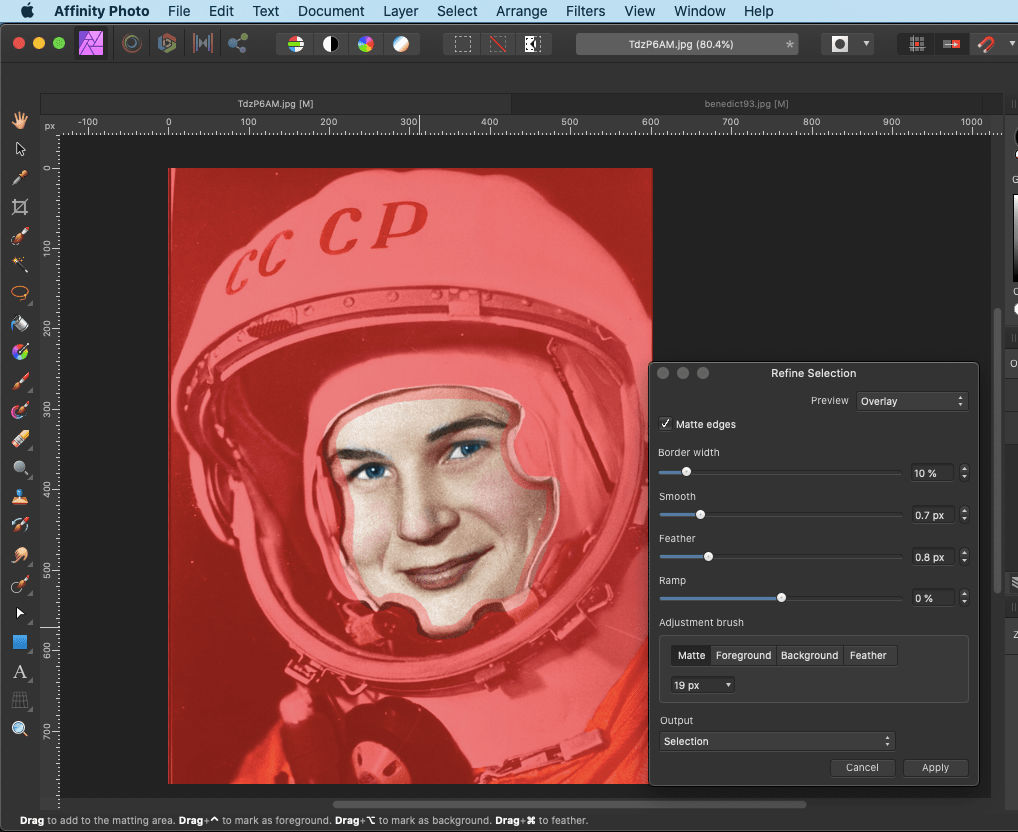
9) Now in order to avoid any blunt edges around the helmet in selection, we need to refine it. Click on the Refine... button in the context toolbar and adjust the Smooth, Feather and Ramp fields. Set the adjustment brush to the desired size and paint over the selected edges. After that, press Apply.
10) Now in the Layers panel, make sure that the upper background layer (original photo of Valentina Tereshkova) is selected. Then press Delete to delete the refined selection.
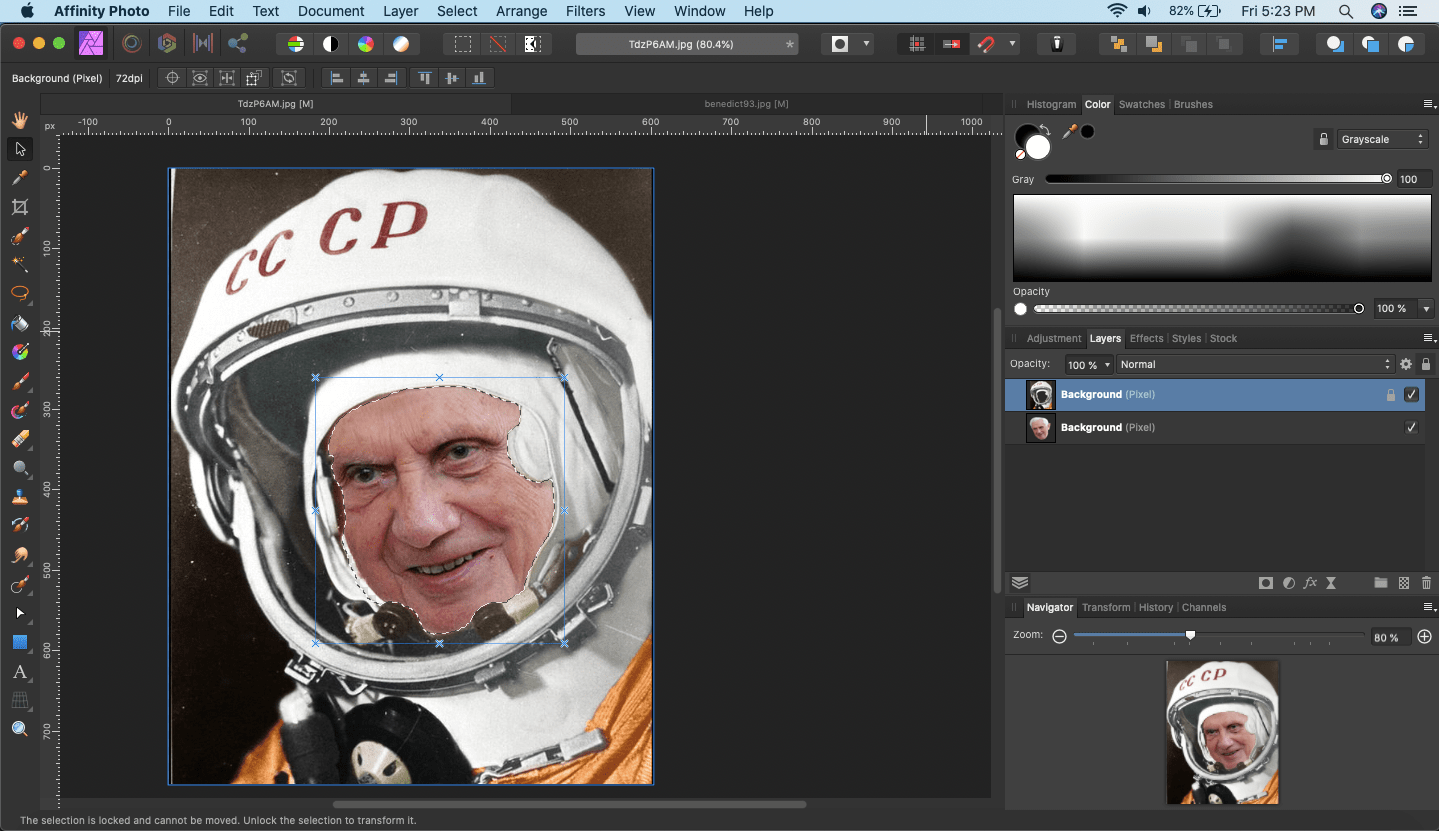
11) Pope Benedict XVI's face pops up. Press ⌘ + D and undo the selection.

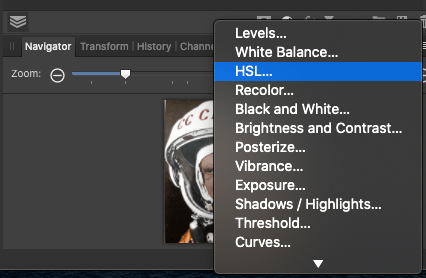
12) We have successfully swapped the face, but we have to correct the skin colour. Click on the Adjustments panel. Then select HSL.
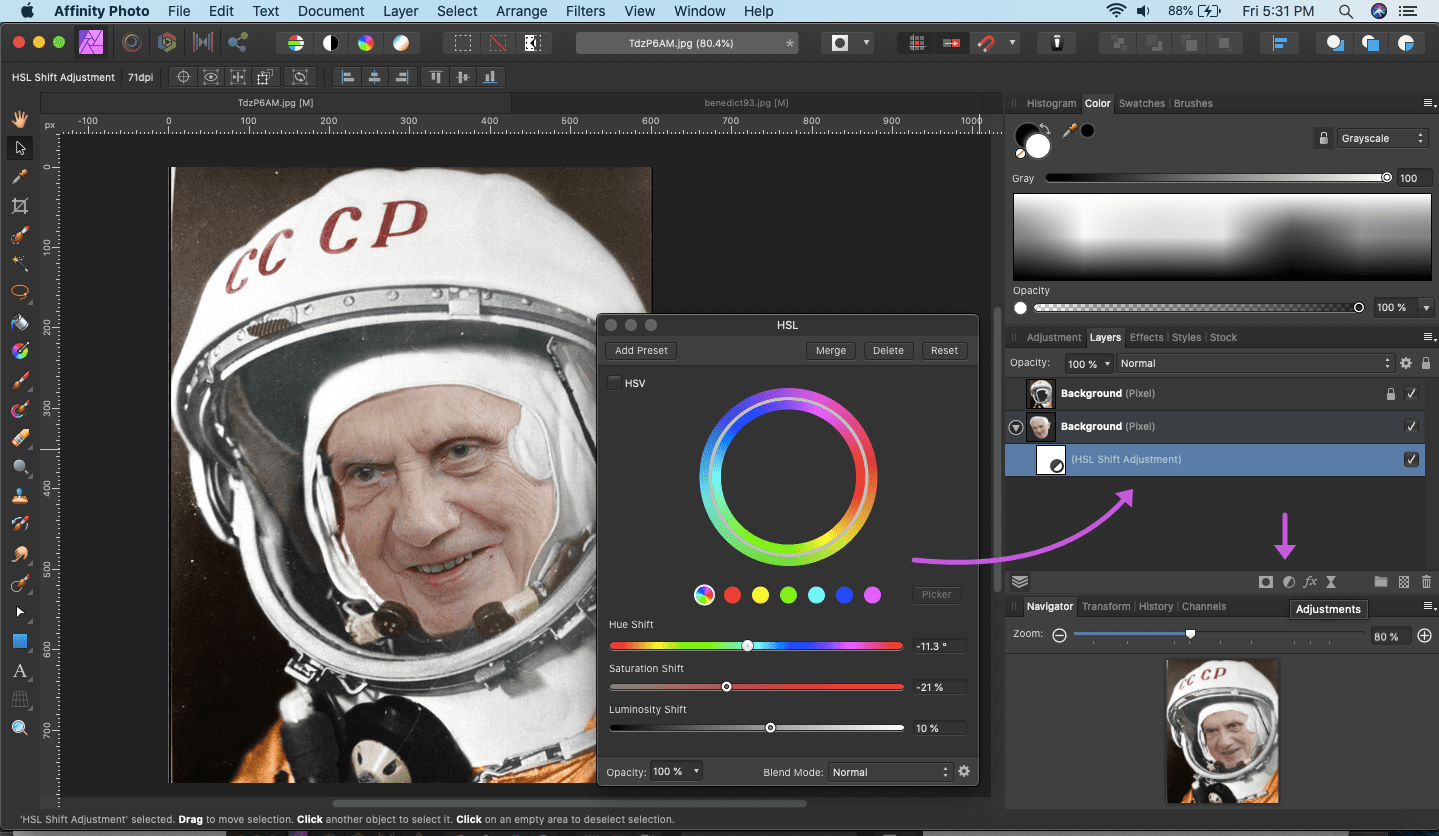
13) Adjust the controls: Hue, Saturation, Luminosity.
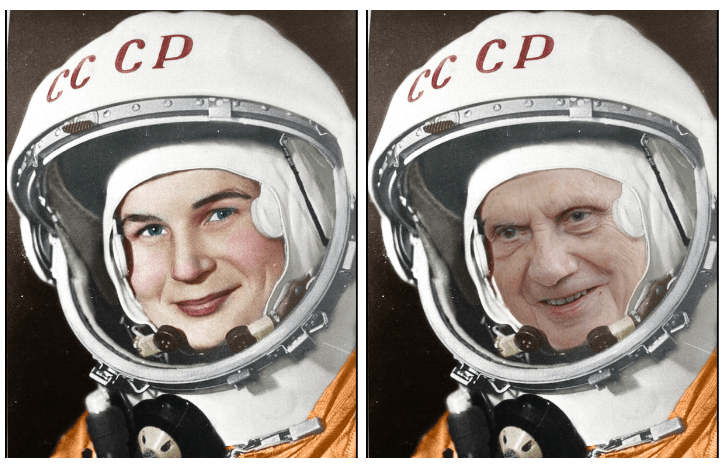
14) After adjusting, here is the resulting output.