jQuery Validation Plugin
Forms are now present in almost any website. Even the simplest of business websites has a contact form. In this tutorial, we will do a simple jQuery form validation with a plugin.
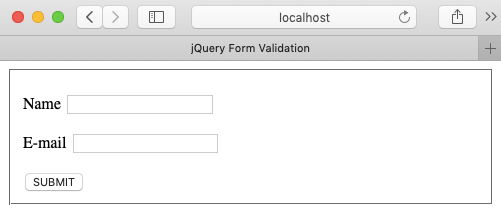
We consider a simple form with just two fields, name and email of types text and email, and a submit button
				<form action="" name="register" method="post">
				    <fieldset>
				        <p>
				            <label for="name">Name</label>
				            <input id="name" name="name"
				            	type="text" autocomplete="off"/>
				        </p>
				        <p>
				            <label for="e-mail">E-mail</label>
				            <input id="e-mail" name="email"
				            	type="email" autocomplete="off"/>
				        </p>

				        <button type="submit">SUBMIT</button>
				    </fieldset>
				</form>
There are many ways to implement client-side validation of forms in jQuery. We can code our own. But easier still is to use one of the many good plugins already available.
Here we pick one of the most popular and widely-used plugin: the jQuery Validation Plugin, written and maintained by Jörn Zaefferer, who is part of the jQuery team. To make use of the plugin, download jquery.validate.min.js from any of the links supplied here (plugin's home page) and include it inside the <head> section of the webform after jQuery
				<script type="text/javascript" src="/path/jquery.min.js"></script>
				<script type="text/javascript" src="/path/jquery.validate.min.js"></script>
NOTE: If your website is in production, you can use the CDN link to the minified file.
Validation Rules
Next we write the validation rules. Constructing validation rules begin with selecting the form and a call to the validate() method, which takes in options like rules and messages necessary for validating a webform
					$("form[name='register']").validate({
					    rules: {},
					    messages: {}
					});
The rules object consists of key/value pairs, with key being the value of the name attribute of the <input/> elements or group of form elements like checkboxes and radio buttons.
In our webform above, we have just two <input/> elements with names name and email (do not confuse with name="name", we take the value in quotes). The corresponding value of a key is either a plain string or an object consisting of rule/parameter pairs, which are either in-built or customized (more on this in the consecutive tutorial).
The messages object is where our custom error messages are defined as values for corresponding keys or, in cases of multiple rules, are mapped to each of them
					$(function() {
						$("form[name='register']").validate({
						    rules: {
						      name: "required",
						      email: {
						        required: true,
						        email: true
						      }
						    },

						    messages: {
						      name: "Please enter your name",
						      email: {
						        required: "E-mail is required",
						        email: "Please enter a valid email"
						      }
						    },

						    submitHandler: function(form) {
						      form.submit();
						    }
					  	});
					});
The CSS
The class .error (or better, label.error) can be used to style validation error messages. You can style it to any extent you please, but for just the pupose of the example here, I have kept it simple
					label.error {
					    color: #ff0000;
					    font-style: italic;
					    margin-left: 10px;
					}
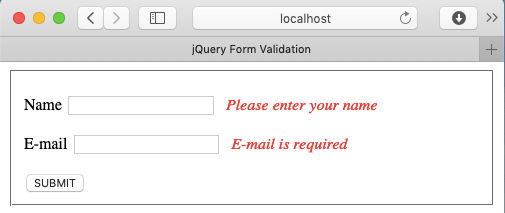
Now, jQuery form validation happens on click of submit. The corresponding error messages show up on click of the submit button if the assigned conditions are unfulfilled
Notes
- jQuery Validation Plugin also allows us to construct our own custom rules, which we will see in the next tutorial.