Affinity Designer: Create Colour Palette
In this tutorial, we will learn how to create a colour palette from an image in Affinity Designer.
1) Launch Affinity Designer.
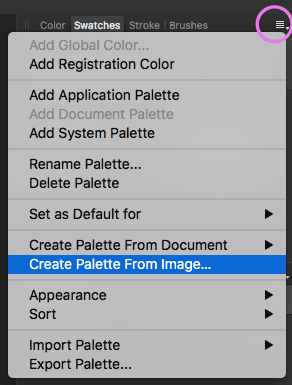
2) Click on the Swatches panel and expand the hamburger menu (Panel Preferences) located on its right. Select Create Palette From Image...
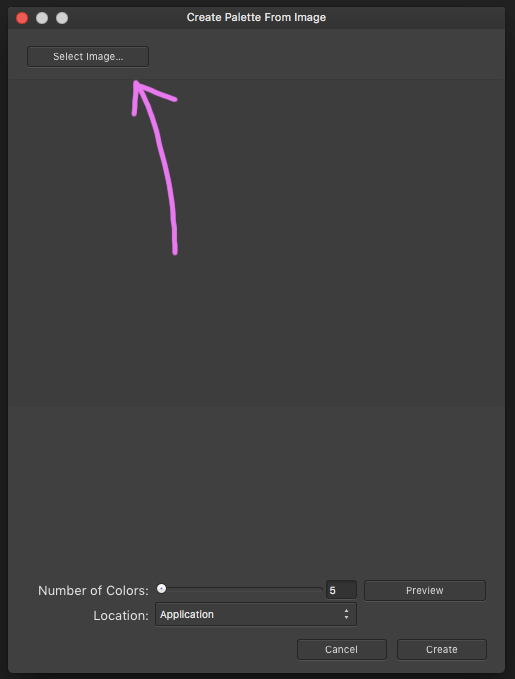
3) A window pops up. Click on the Select Image... button and select the image out of which you wish to create a colour palette.
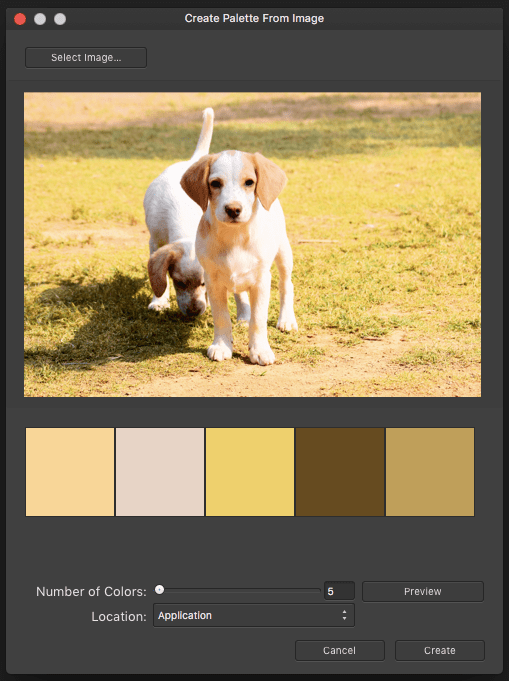
4) Upon upload, a 5-grid array of dominant colours are created by default below the image.
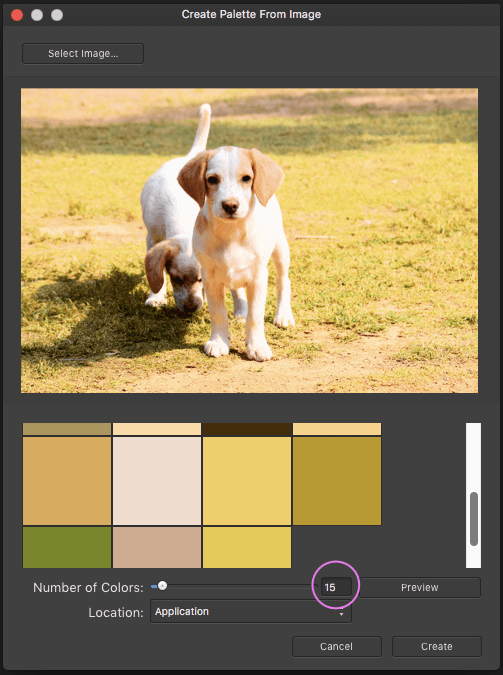
5) The number of colours can be increased/decreased by either moving the slider or entering the desired number in the input box directly.
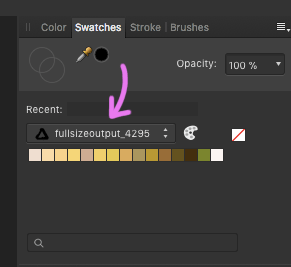
6) Click Create. A new palette is created, which you will find in the Swatches panel.
Rename a Palette
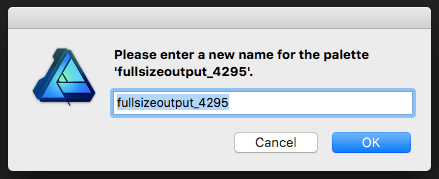
1) Expand the hamburger menu in the Swatches panel again and select Rename Palette....

2) A window pops up. Enter the desired new name in the input box. Press OK.
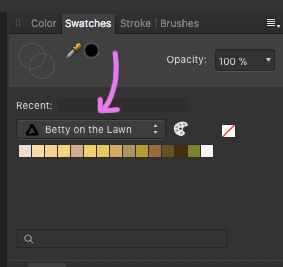
3) The custom palette you created is renamed.
Delete a Palette
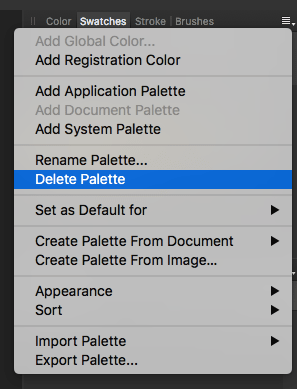
You can delete a palette by selecting Delete Palette from the hamburger menu in the Swatches panel.
Notes
- The puppy in the photo looking up was mine; she had passed away.