Affinity Designer: Create a Simple Flat (Heart) Icon
In this tutorial, we will learn how to create a simple flat heart icon very fast in Serif's Affinity Designer.
1) Launch Affinity Designer and create a new document (⌘ + N).
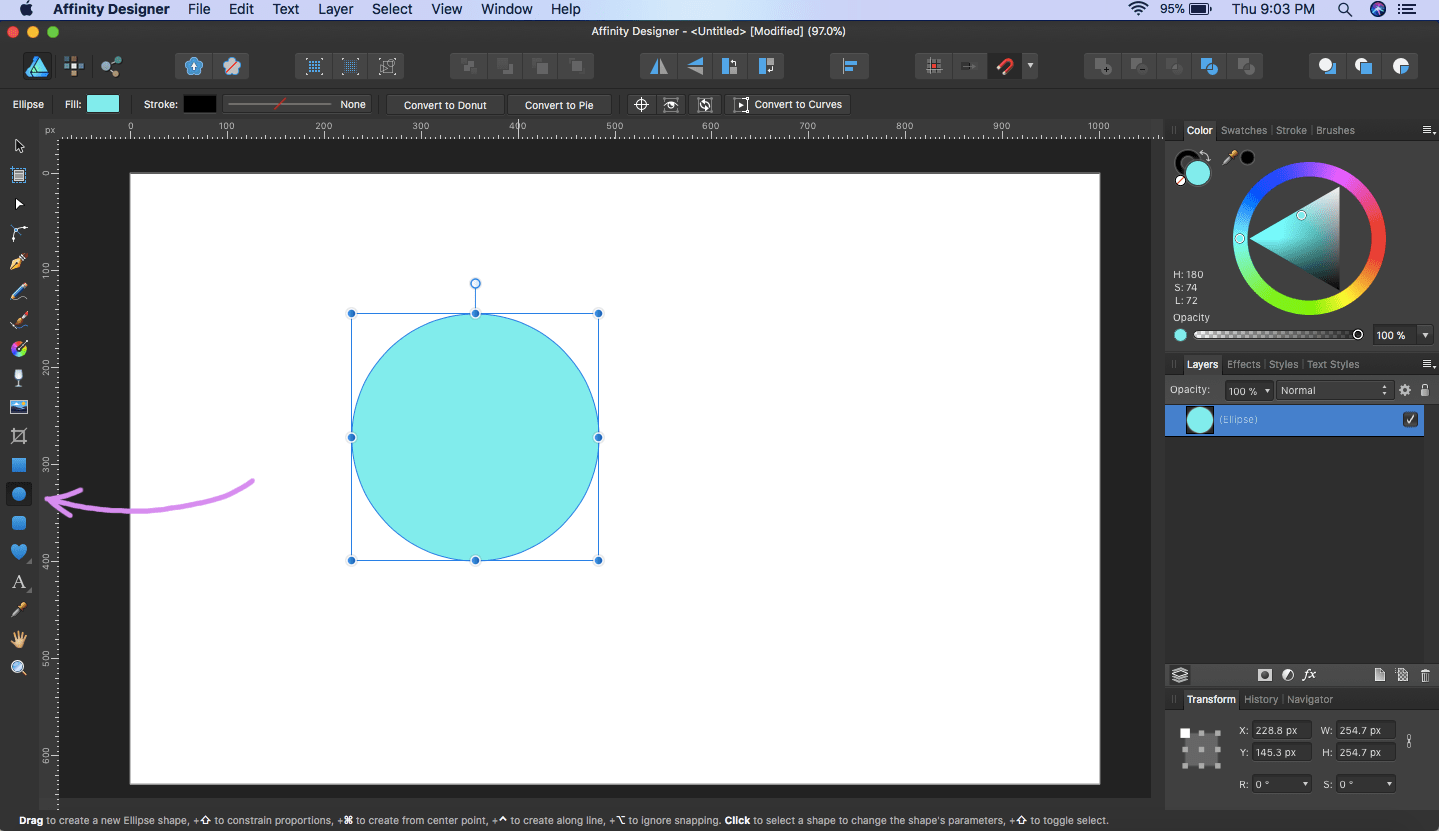
2) Pick the Ellipse Tool and trace out a perfect circle (press SHIFT while tracing out). Fill it with some background colour, say, HSL (180,74,72) or #81ECEC.
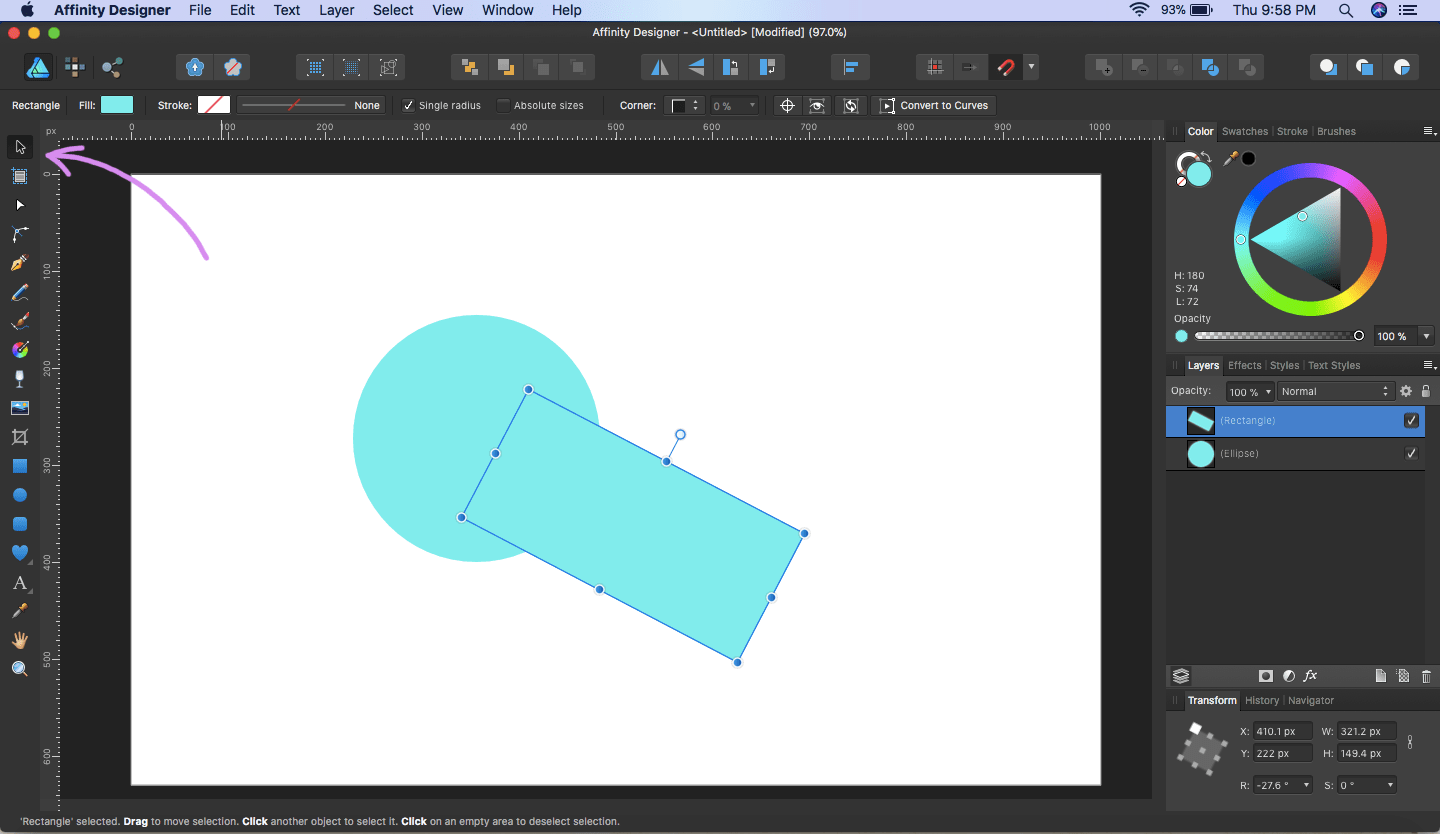
3) Next, pick the Rectangle Tool and trace out a rectangle over the existing circle. Select it using the Move Tool and tilt it at the angle you deem fit so as to form a shadow of the heart-shaped figure we are going to place over it. This is what is usually known as long shadow.
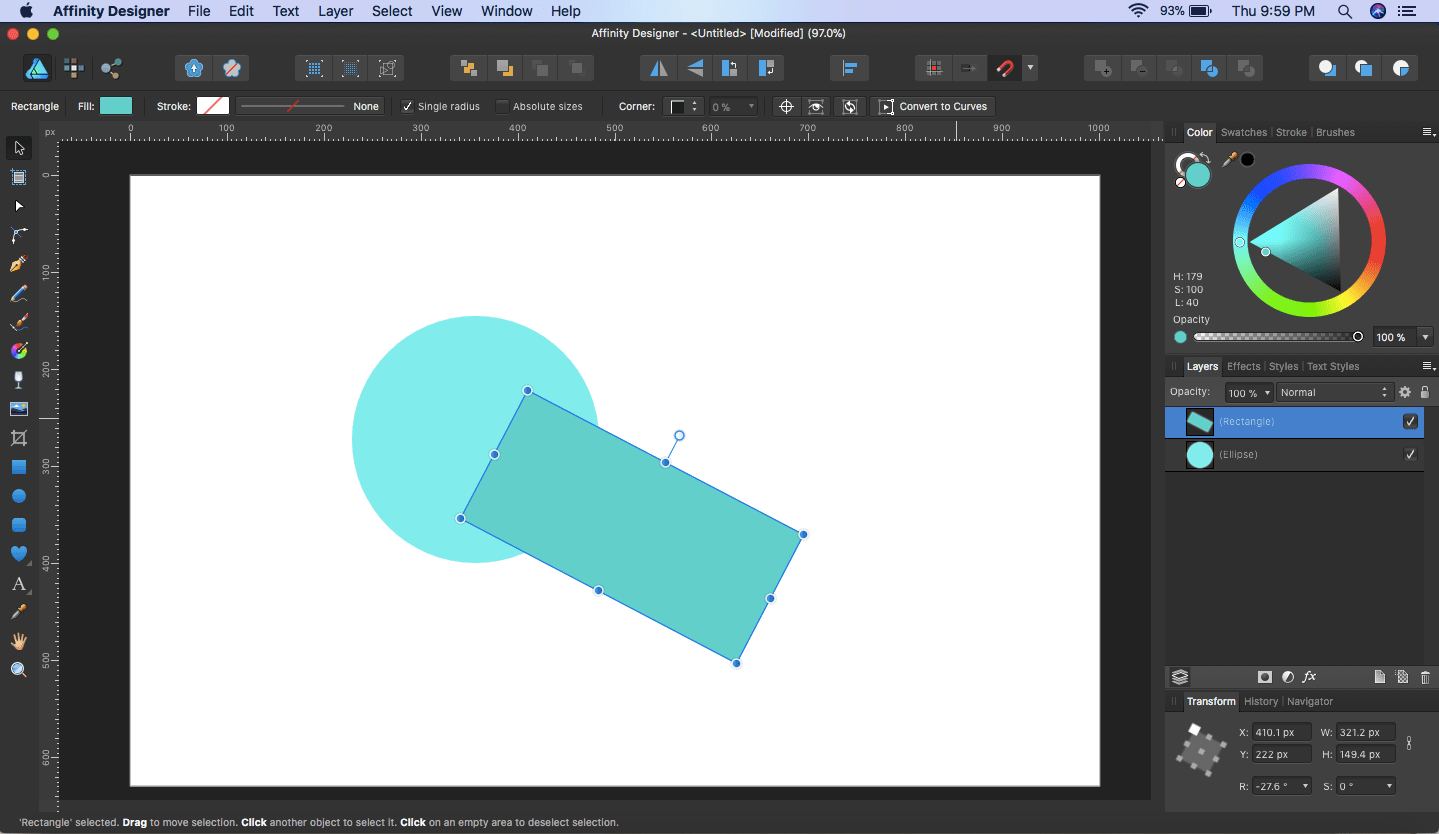
4) Fill the long shadow's background with a slightly darker colour than the background of the underlying circle, say, HSL (179,100,40) or #00cec9.
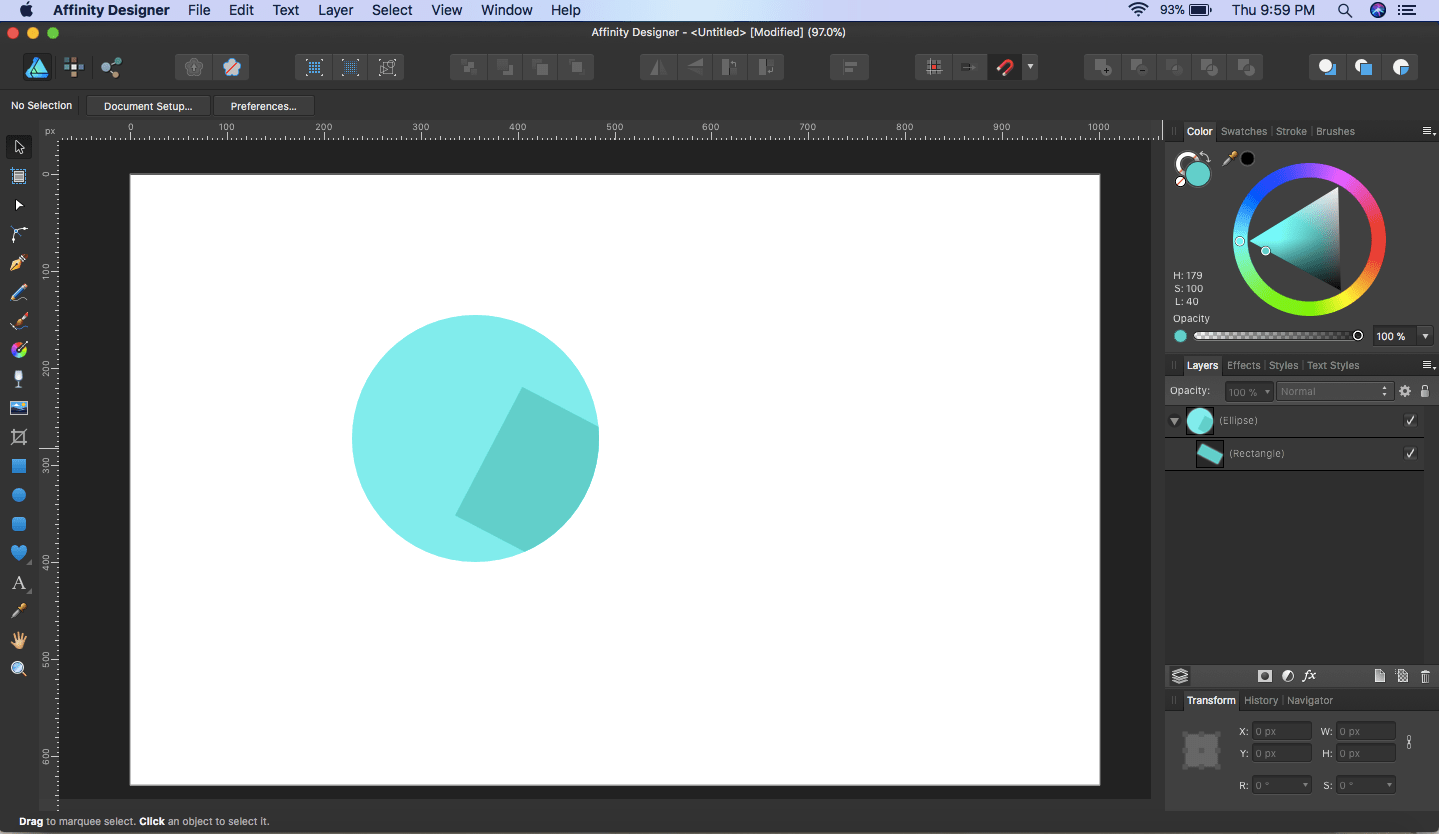
5) In the Layers panel, drag/merge the "long shadow" (rectangle) layer into the circle layer below it.

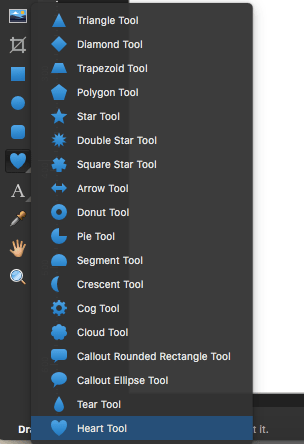
6) Now let us select a shape. I will choose the Heart Tool here (you an select any shape you please) and trace it over the merged layers.
7) Fill the heart's background with some different colour, say, HSL (339,97,73) or #fd79a8. Select it with the Move Tool and adjust its size so that it looks like casting the long shadow already traced. You can also select the long shadow's layer and resize it too.
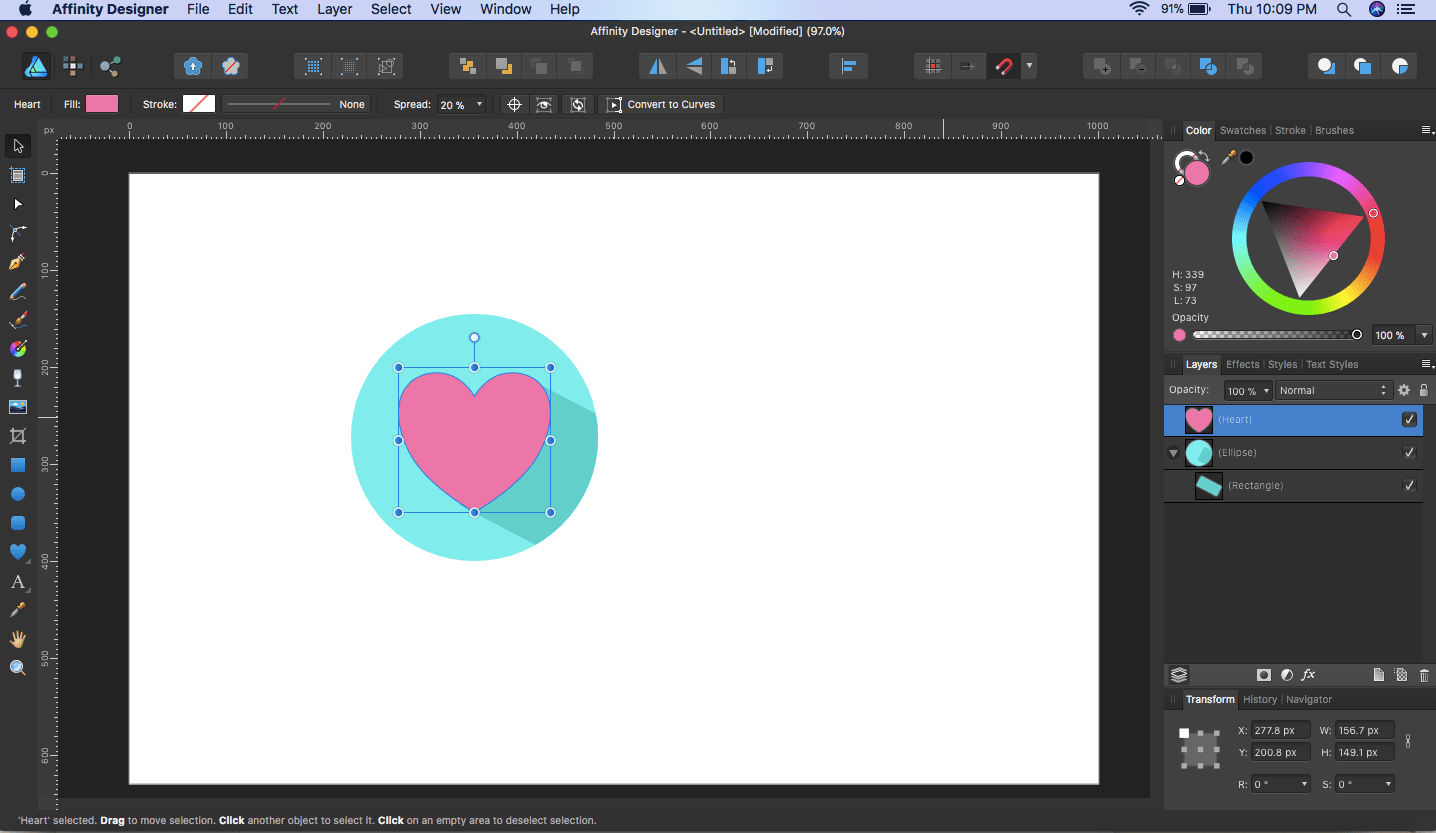
8) Press ⌘ + A and select all the created layers.

9) Right click over the selected area and select Group from the menu.
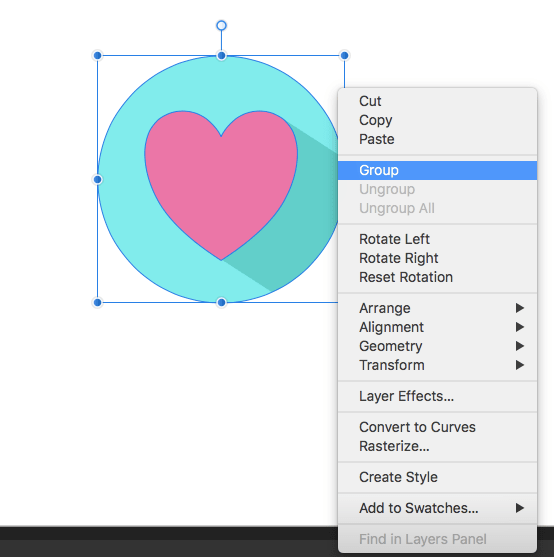
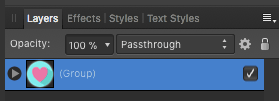
10) The three created layers are now grouped together; the Layers panel show them all merged. (You can expand the composed layers by clicking on the small forward icon)
11) Click File > Export...
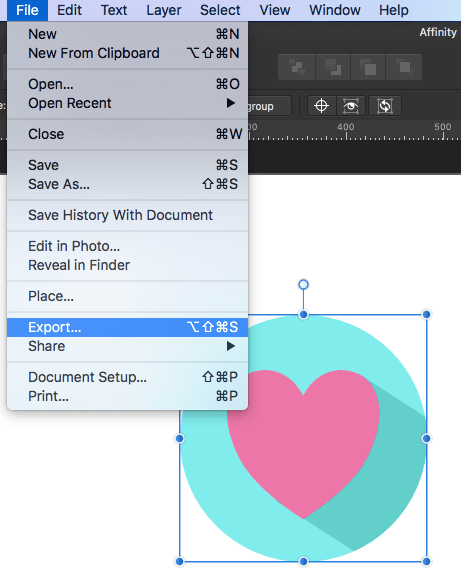
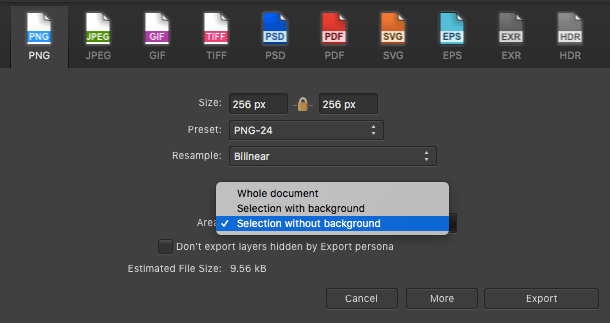
12) By default, the PNG tab will be open. In the Area field, select Selection without background (for transparent background) and press Export.
The Flat Heart Icon in Affinity Designer
Here is the heart flat icon in PNG format (with transparent background) we just exported.
