Affinity Photo: Create Light Beam/Ray
In this tutorial, we will learn how to create a light beam or light ray in Serif's Affinity Photo. As an example, we will create the Bat-Signal being projected into the night sky of "Gotham City".
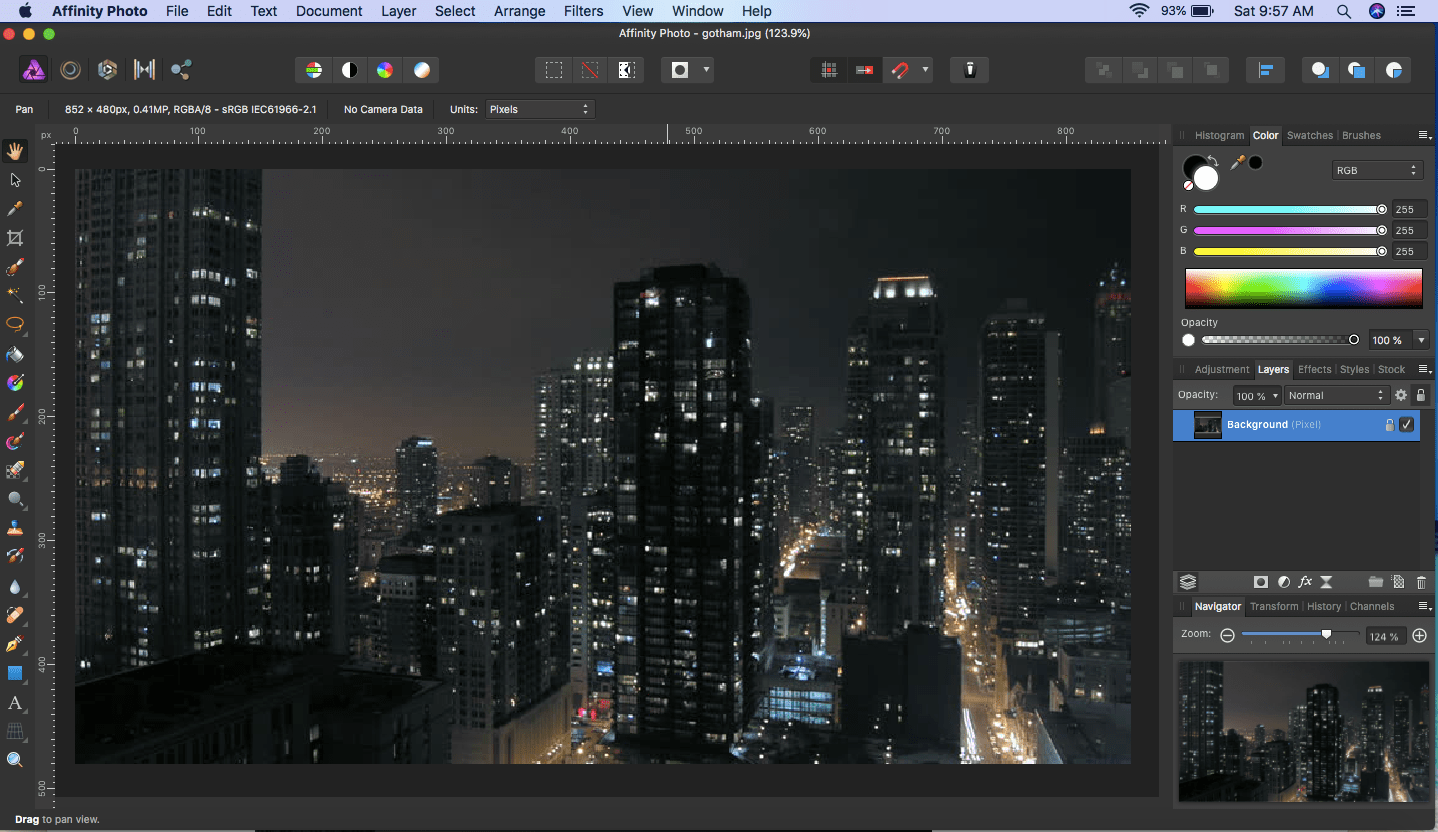
1) Launch Affinity Photo.
2) Click File > Open... and open an image of your supposed "Gotham City" (you can also press ⌘ + O)
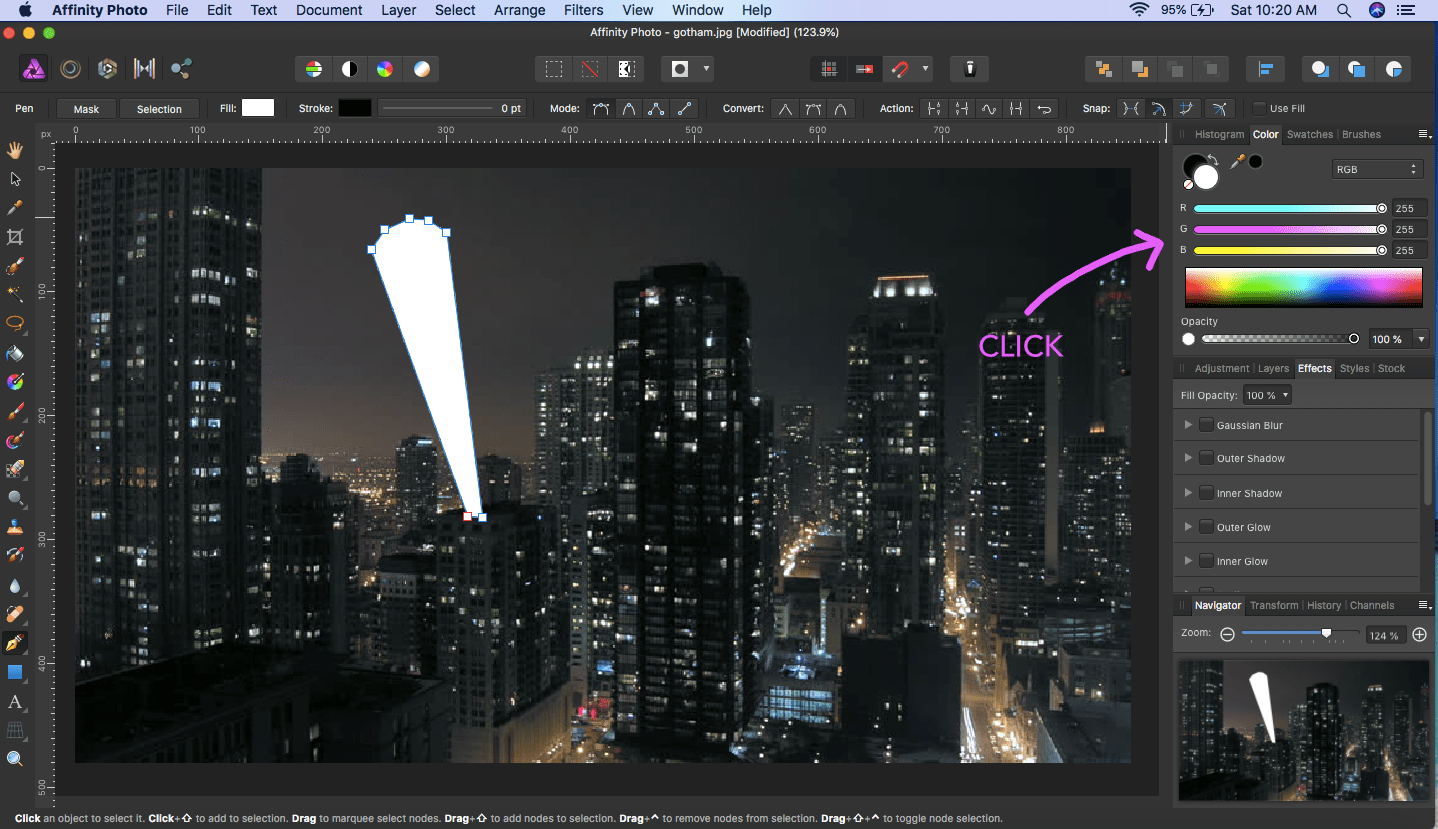
3) In the Photo Persona (default), pick the Pen Tool.

4) Roughly trace out an elongated conical shape from where you desire the beam should be projecting. Click on any of the colour sliders in the Color panel, and pick a white colour.
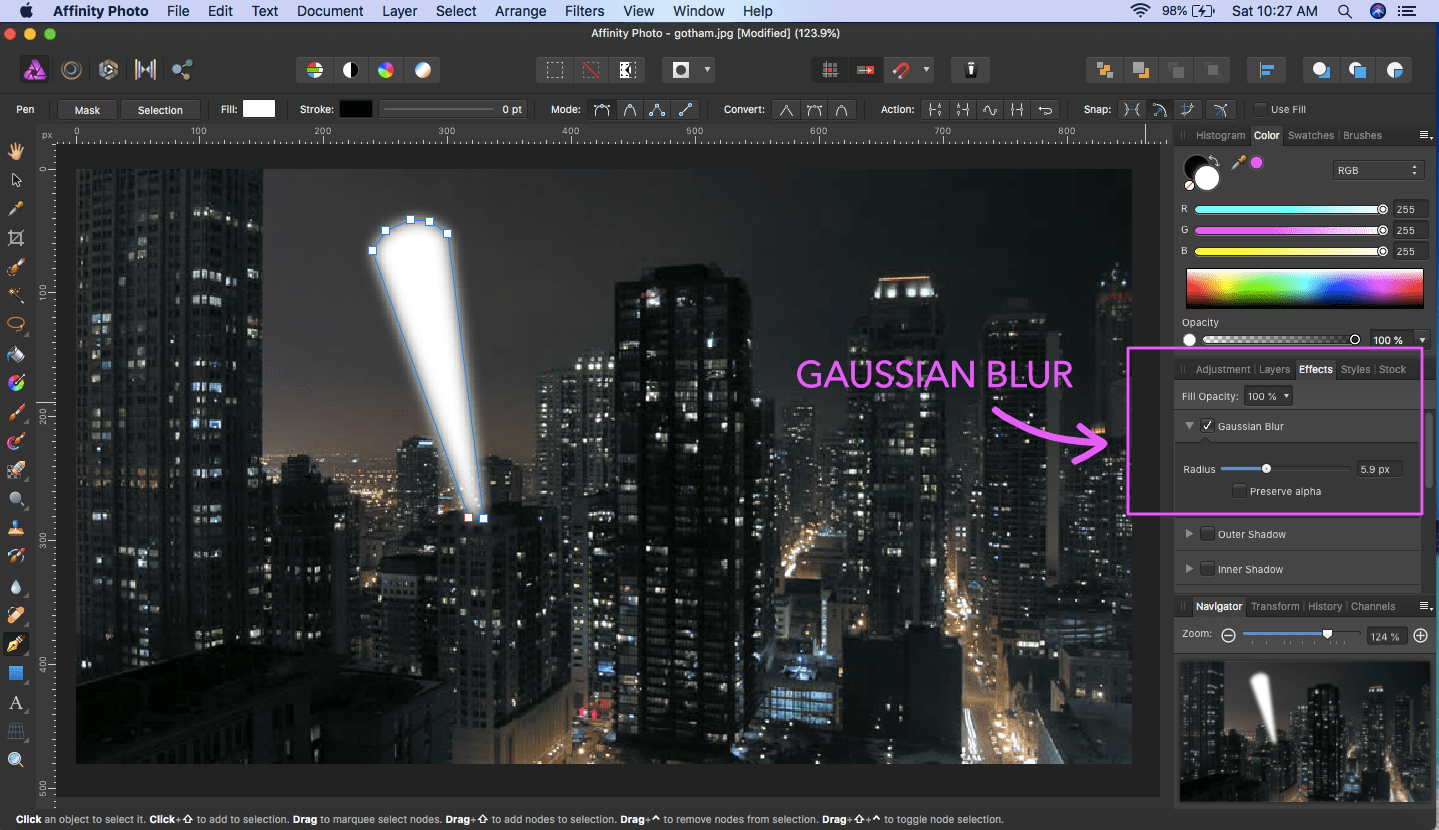
5) Now we will apply some blur effects to the curve layer we just traced out. Click the Effects panel and slide-up the radius of Gaussian Blur to some value, say 5.9px.
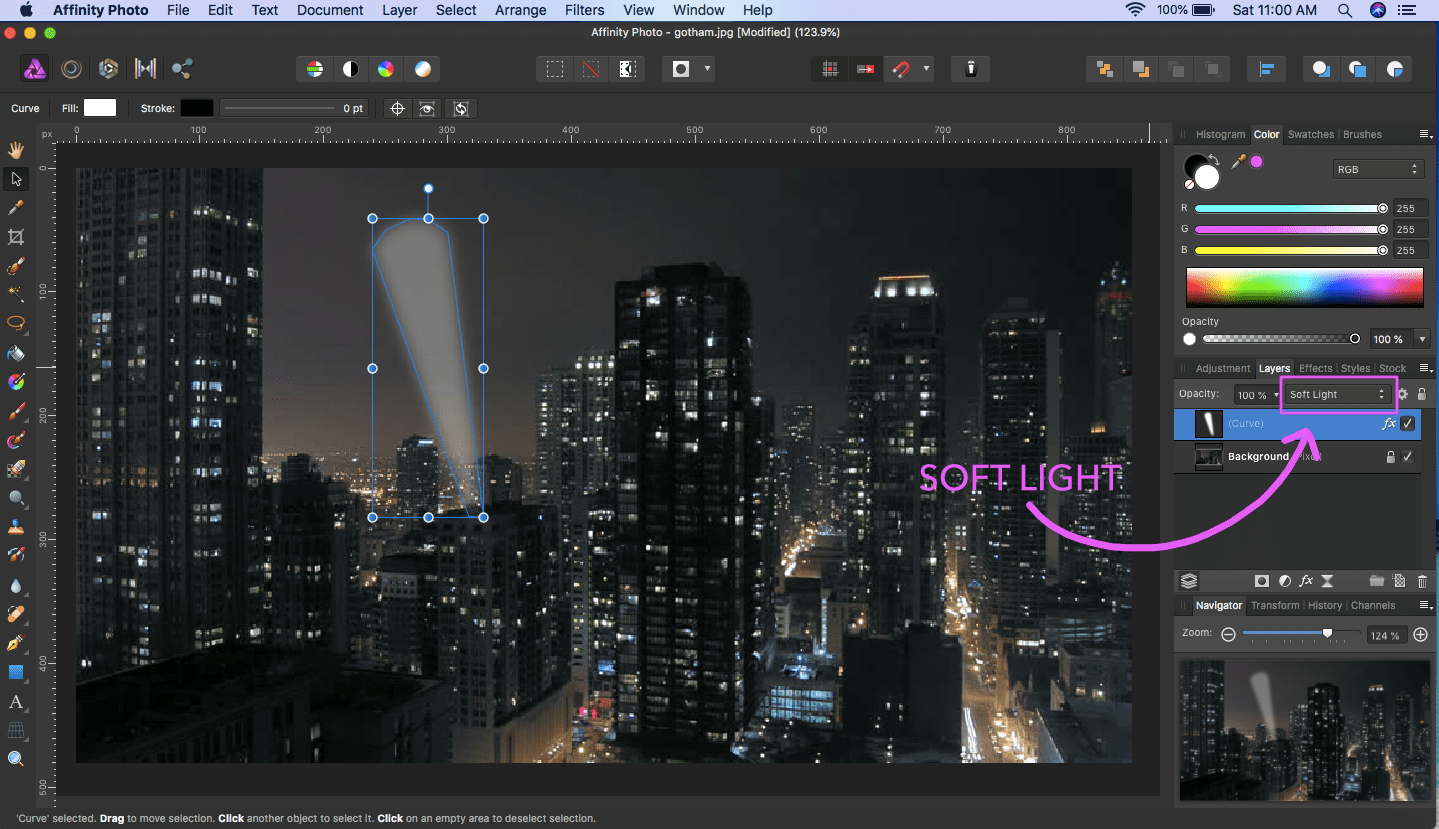
6) Back in the Layers panel, select Soft Light from the dropdown list.
7) We are now quite done with the light beam part. Let us begin on the logo. Click File > Place... and place a transparent Bat logo onto the background layer.
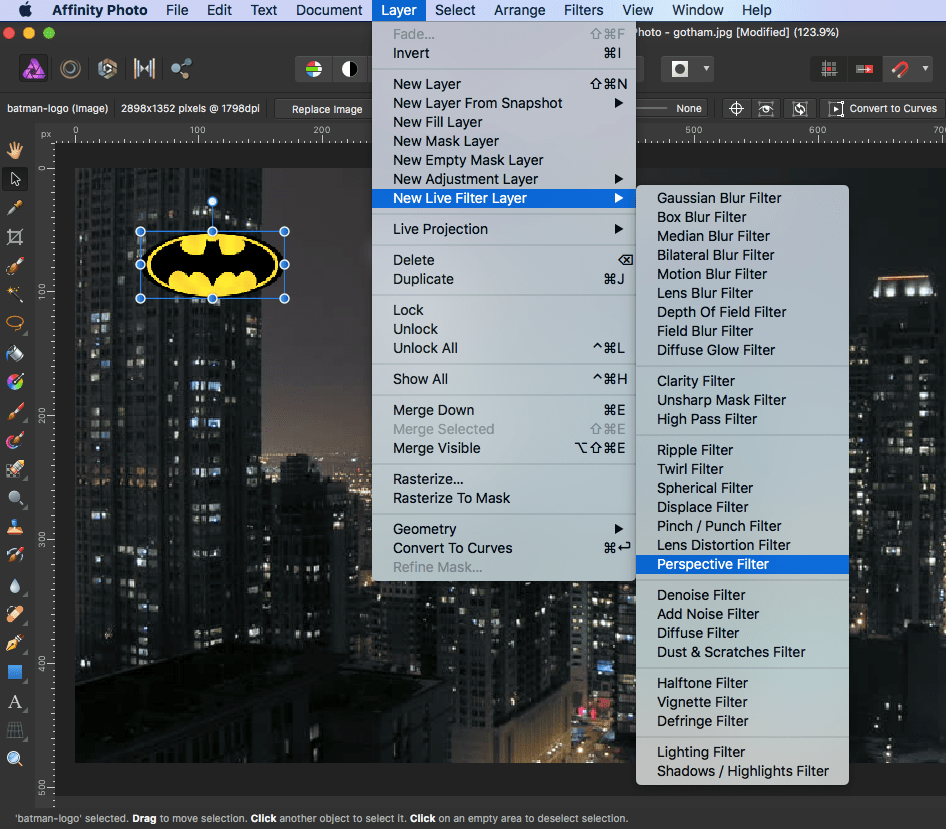
8) Now we need to put the logo into perspective. Choose Layer > New Live Filter Layer > Perspective Filter.
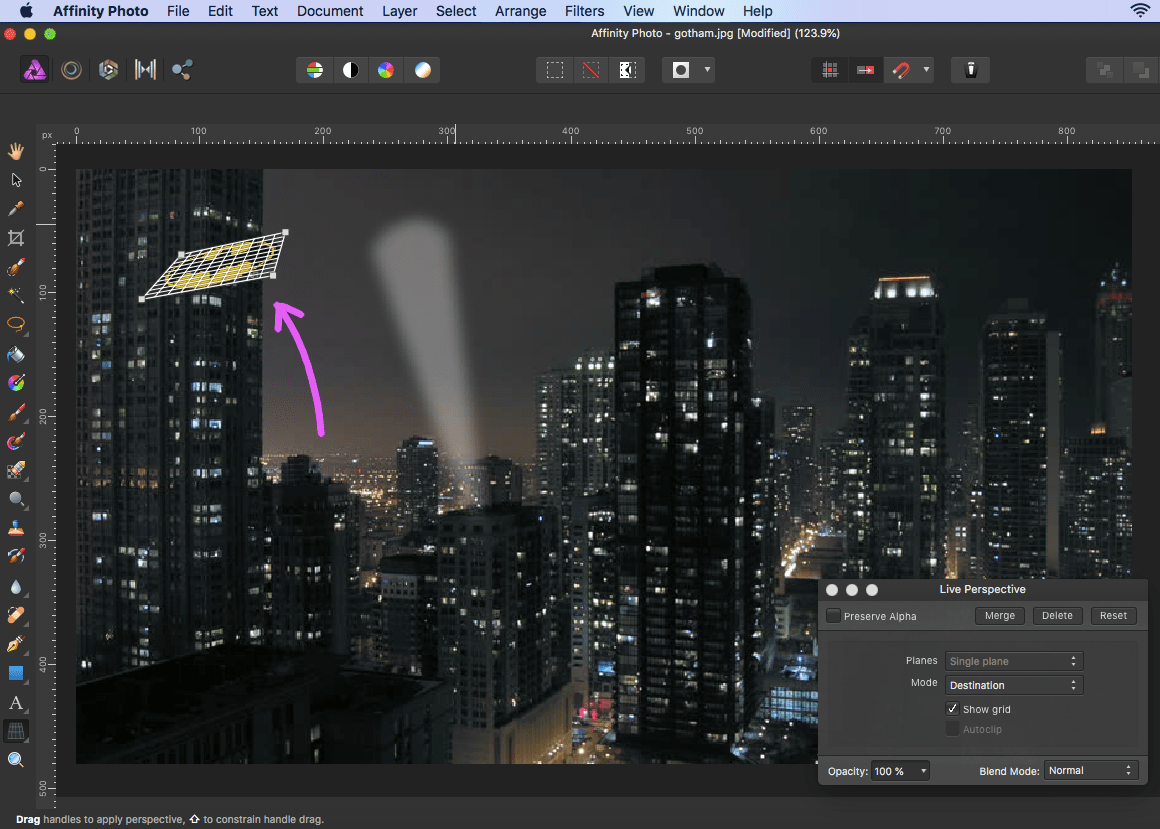
9) Adjust the perspective grid by moving the grid points. Next, move the logo over to the end of the light projection using the Move Tool. Adjust its size to fit within the curved edge of the blurred light beam.
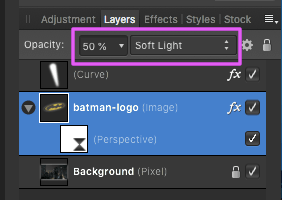
9) Now we need to blend the logo into the background. There are many ways to accomplish this. One quick way is to reduce the Opacity to some 50% and to apply Soft Light from the dropdown list into the logo layer.
10) There we have our Bat-Signal over the night sky. Commissioner Gordon shoud be pleased.
