Affinity Photo: Place Text Behind an Image
Very often designers come across the need to overlap text with image, especially while creating logos, designing book/magazine covers and posters. In this step-by-step tutorial, we will learn how to place text behind an object in Serif's Affinity Photo.
1) Launch Affinity Photo.
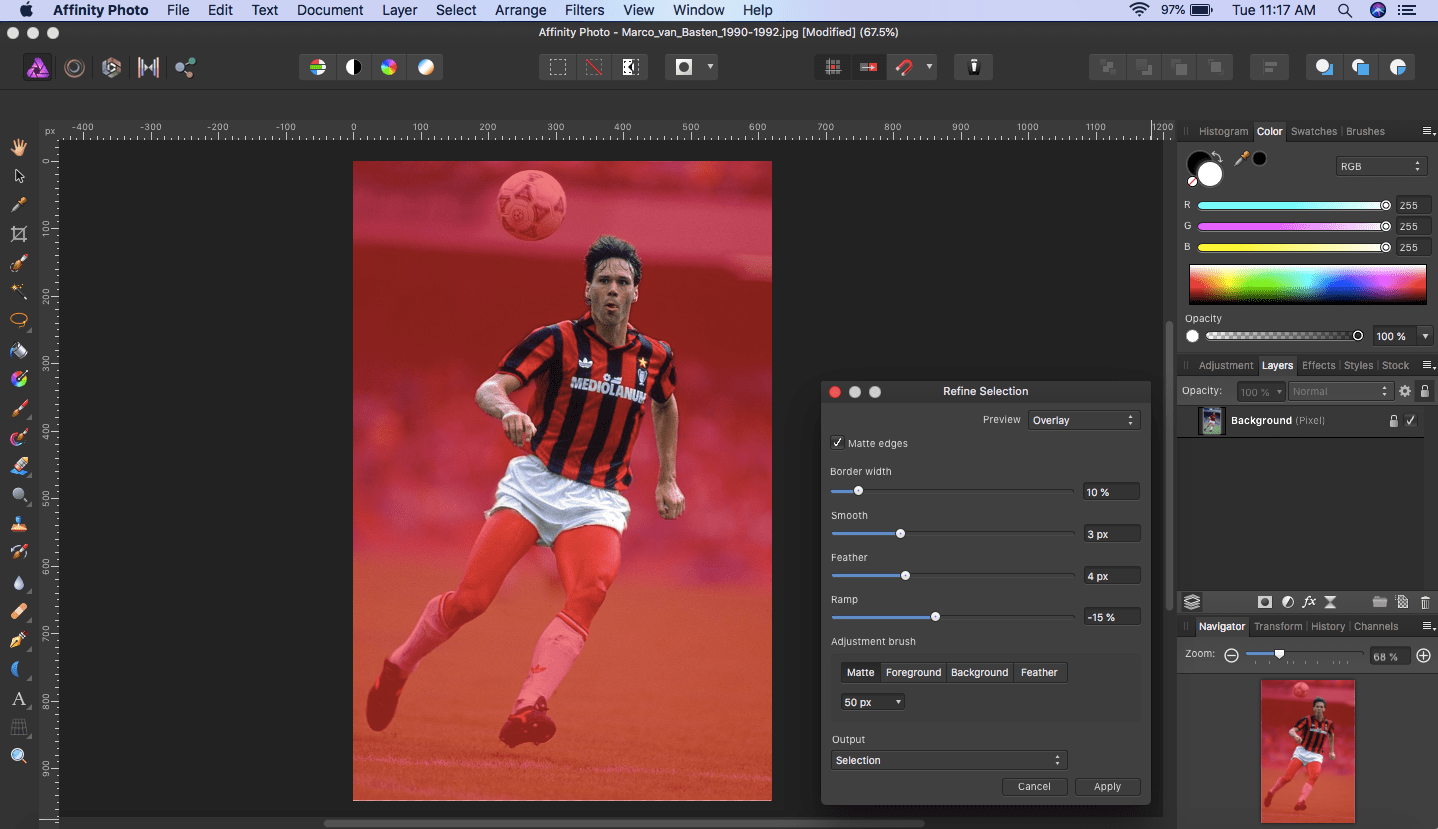
2) Click File > Open... and open the image where you want to insert some text behind an object in it (you can also press ⌘ + O). Here we pick an image of Marco van Basten, one of the famous Dutch trio at A.C. Milan. We will put his name behind that image of him.
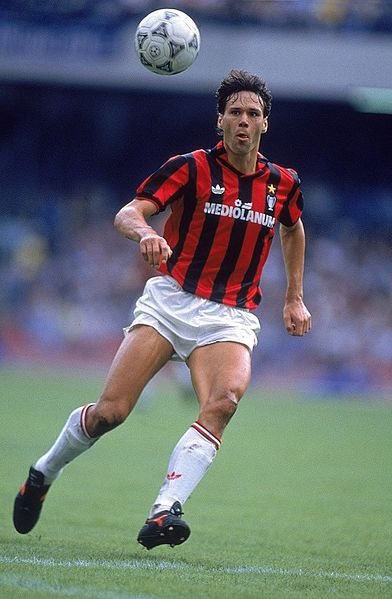 (Photo via Wikimedia Commons, Public Domain)
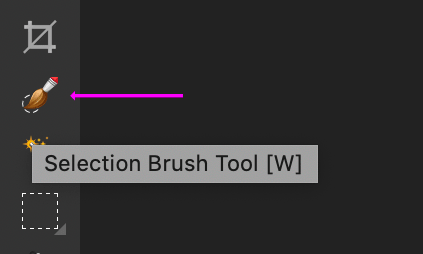
3) We will first select the part of the image which will overlap the text. In the Photo Persona (default), pick the Selection Brush Tool.
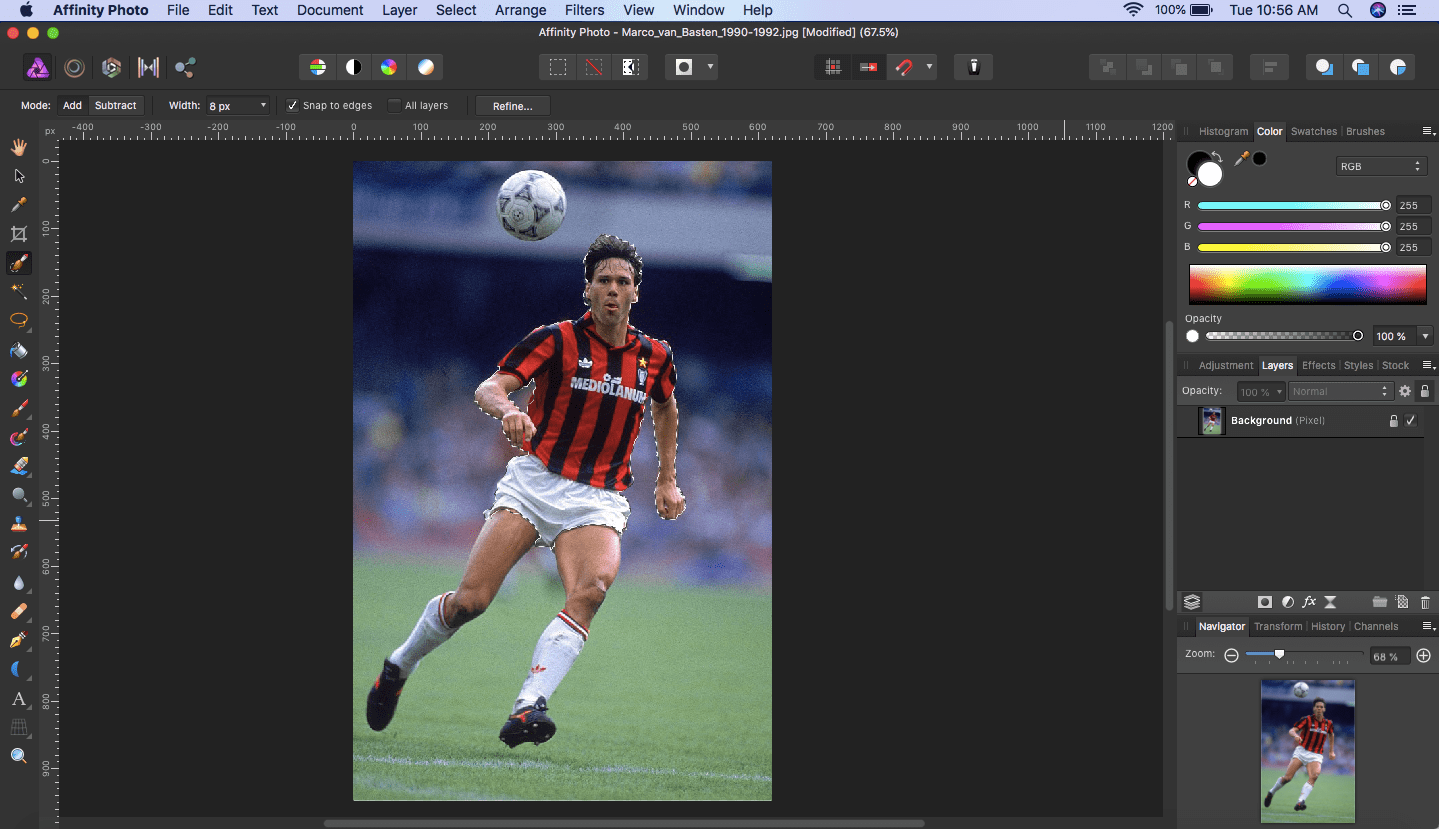
4) The cursor changes to a transparent circle. You can increase or decrease its radius as you desire, sliding the Width field which appears in the context toolbar. The Mode in the context toolbar will be set to Add by default. Click drag over van Basten's image and trace out a selection. With each brushing, it will add areas to the selection. If there are spill overs in selection, click Subtract and remove unwanted added regions.
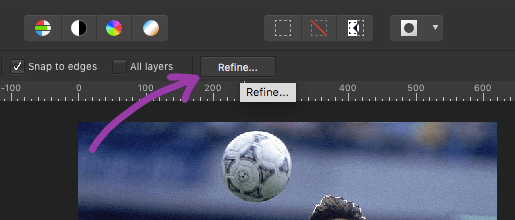
5) Now we can refine this selection further, but for the scope of this tutorial it is not necessary; you can just skip the next three steps and go to Step 8. But if you want to achieve finer selection out of the object, click on the Refine... button that appear in the context toolbar.
6) A red background overlays the parts which are outside of the selected area and the Refine Selection dialog box pops up alongside, where we can make some adjustments. The Ramp field changes the size of the selection; positive values will increase it, negative values will shrink it. Set it to around -15%. Smooth determines the curvature of the edge of the selected area. Set it to 3px. The Feather field sets the softness or opacity at the edge of the selection. Set its value to 4px. Finally, you can also increase the size of adjustment brush as you need (50px by default), but here, we will not be applying that.
7) The result yields us a much finer selection now. Click Apply.
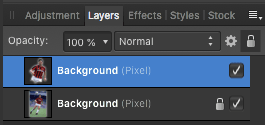
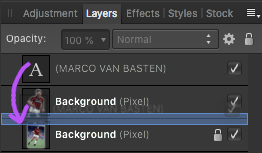
8) Copy the selection, press ⌘ + J. You can see that in the Layers panel a new layer of selection is created, above the original layer.
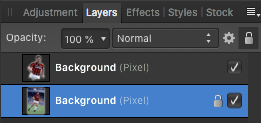
9) Now select the Move tool and click on the original background layer.
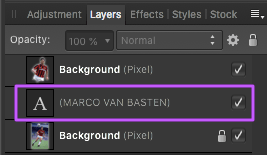
10) Pick the Artistic Text Tool, select a font, set its size, and type the name 'MARCO VAN BASTEN'. Here we have picked the font Silom at 48pt.

11) Carefully note that the text layer should lay below the selection layer.
12) If in any situation you find the text layer above the selection layer, the text will overlap the selection. Click on the square icon, drag it down and release the mouse between the bottom and top border lines of the selection layer and the background layer respectively. The text layer will again be below the selection layer.
13) Now we need to clear the selection. Press ⌘ + D. We get our text behind an image.