Affinity Photo: Straighten and Crop an Image
In this tutorial we will learn how to straighten and crop an image in Serif's Affinity Photo.
1) Launch Affinity Photo.
2) Click File > Open... and open an image you want to straighten or crop (you can also press ⌘ + O)
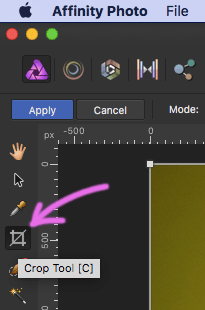
3) In the Photo Persona (default), pick the Crop Tool.
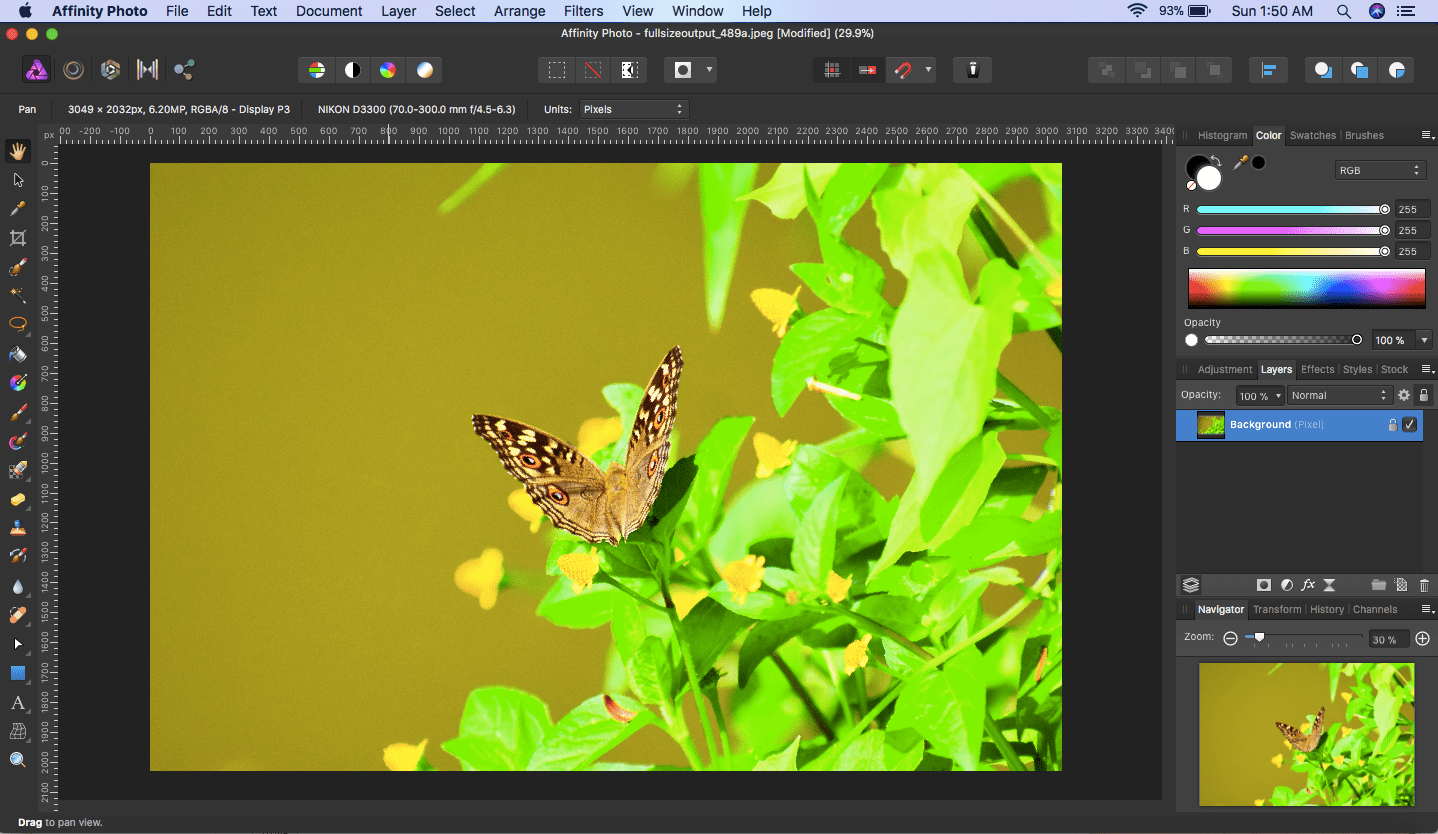
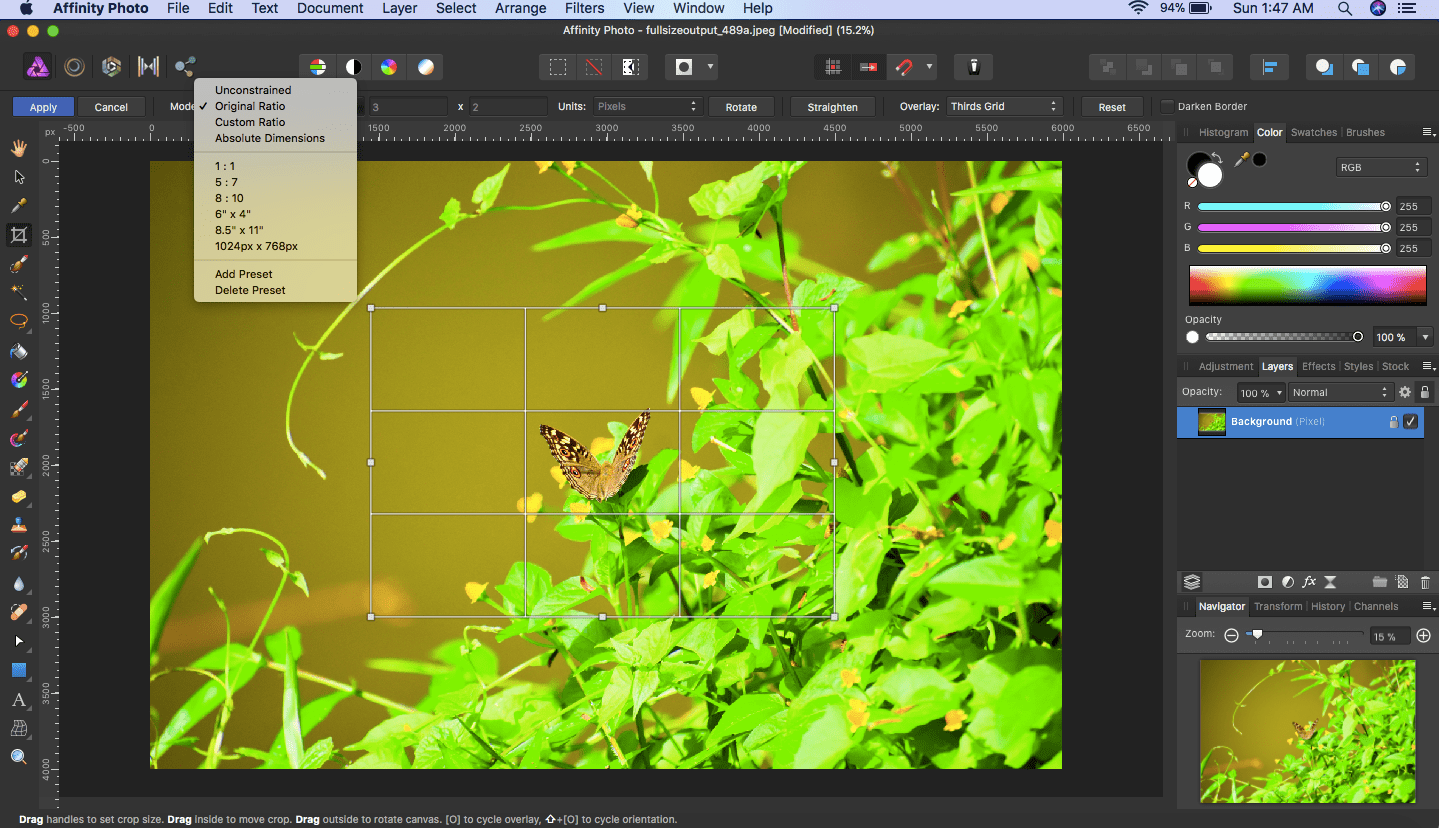
4) A grid appears over the image. Drag the edges or corners to adjust the crop area.
5) Now there is a Mode field (next to the Cancel button) where you can choose a crop area according to a certain fixed aspect ratio. For example, choose 1:1 mode for a perfect square crop.
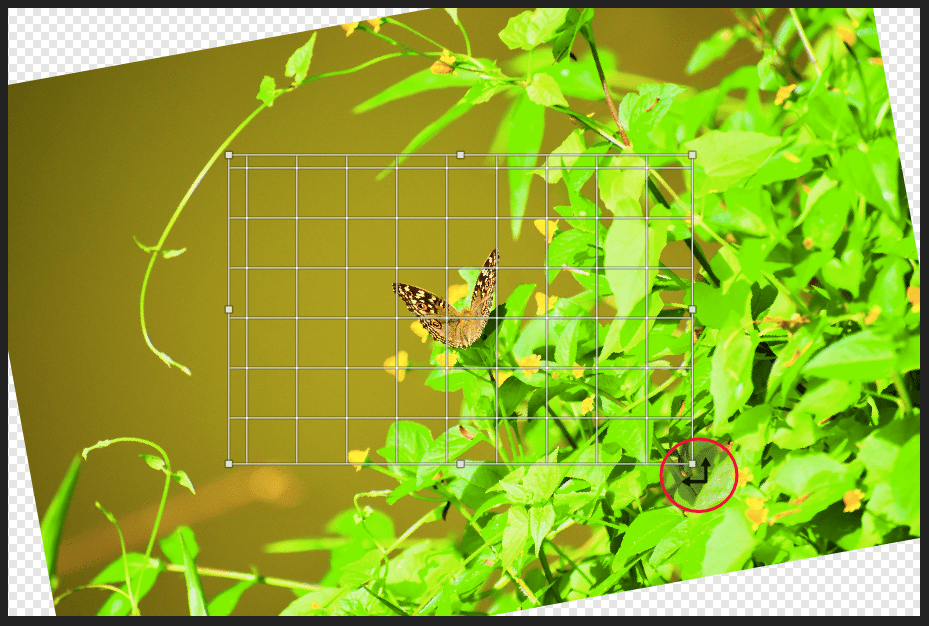
6) Now to straighten the image, hover a little outside over any of the corners of the grid area. A rotate cursor (angle arrow, ![]() ) appears. Tilt the image clockwise/anti-clockwise as desired.
) appears. Tilt the image clockwise/anti-clockwise as desired.
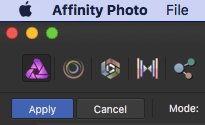
7) Click on the Apply button or press ENTER. There you get your straightened cropped image.