Affinity Photo: Remove Acne/Pimple/Spots and Other Blemishes from a Face
In this tutorial we will learn how to easily remove skin blemishes like pimples/acnes/spots using Affnity Photo's Blemish Removal Tool.
1) Launch Affinity Photo.
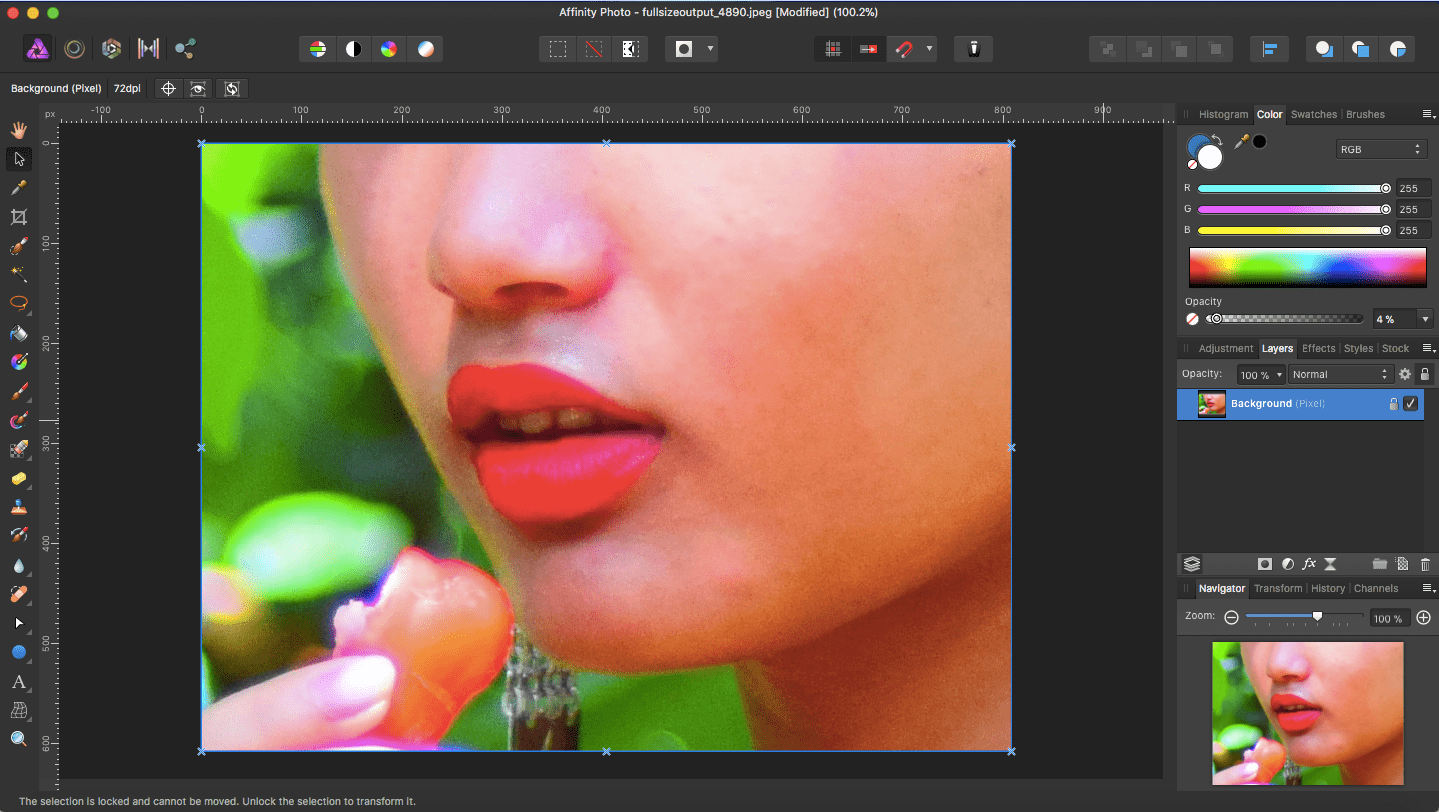
2) Click File > Open... and open a photo with a face containing pimples/acnes/spots or other kind of blemishes which you want to remove (you can also press ⌘ + O)
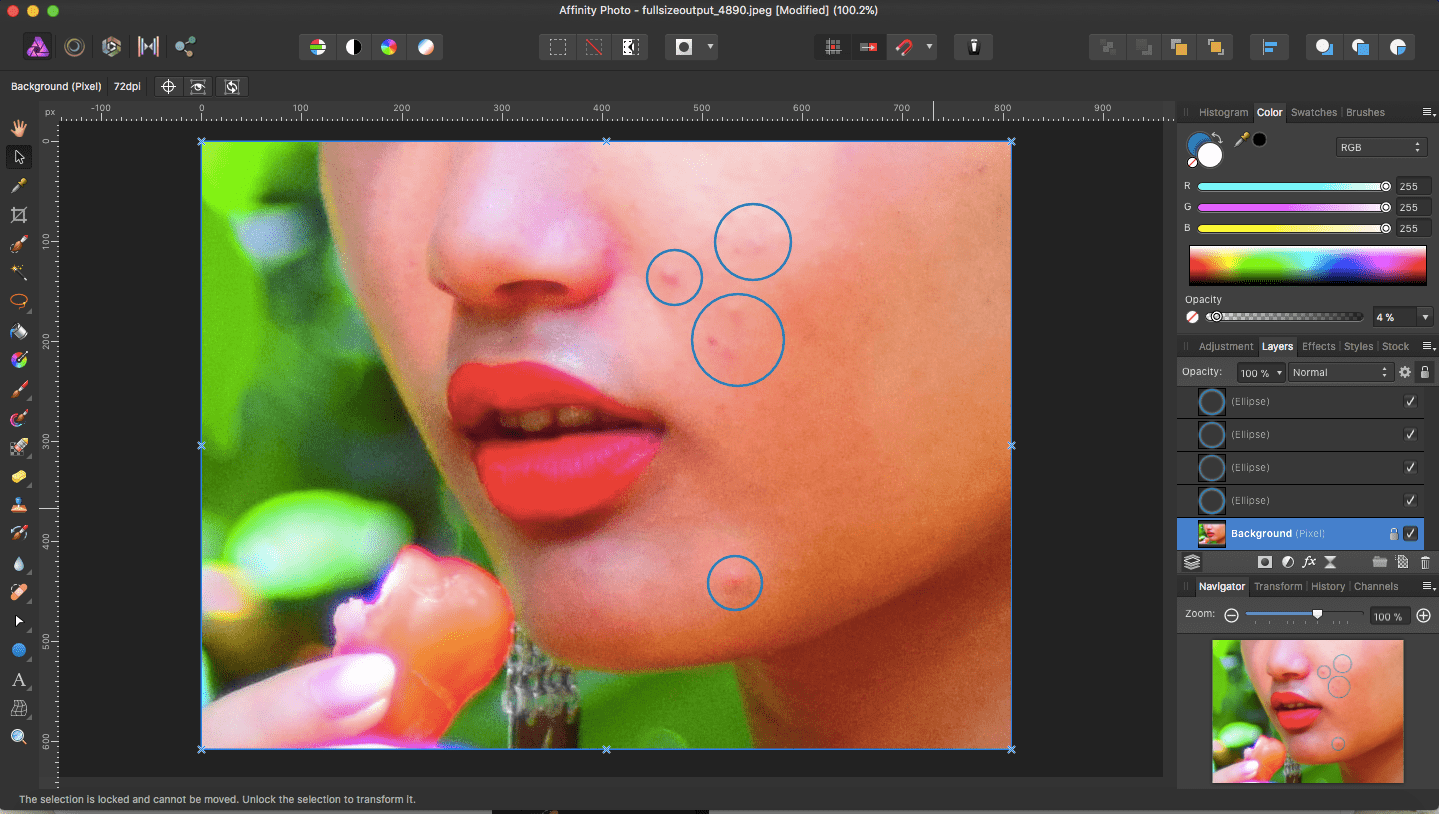
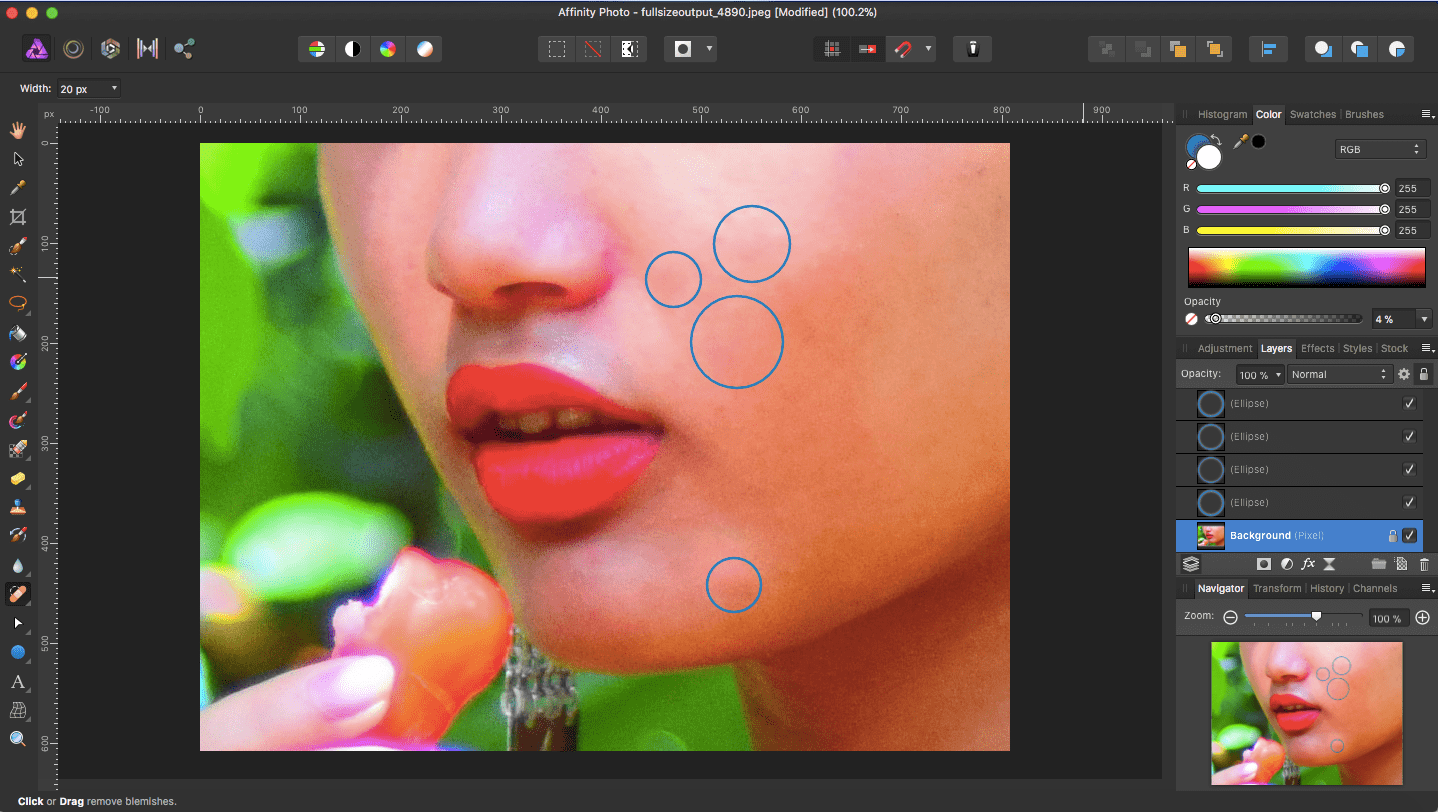
3) We will remove the blemishes which are circled in blue. By the way, circling is not required; they are marked out here just for the purpose of this tutorial.
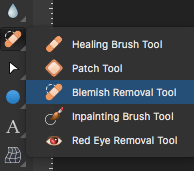
4) By default, you will be in the Photo Persona. Select the Blemish Removal Tool (or press the J key for a required number of times).
5) Hold the mouse button down and drag the cursor over the blemished areas over and over again, till the result is as you desired.
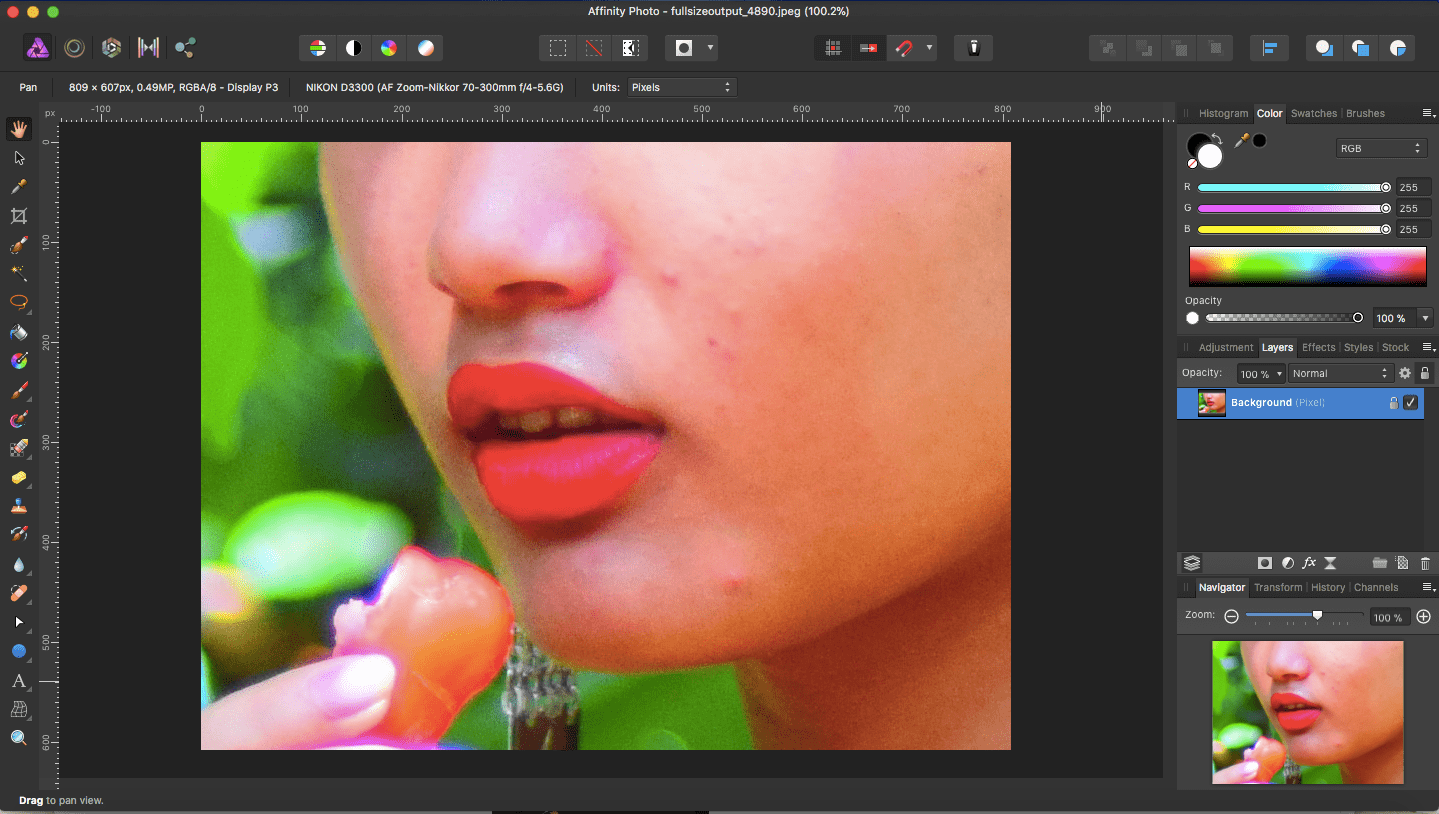
6) And here is the much better final picture with the circled blemishes removed/reduced.