Affinity Photo: Select and Change Color
In this tutorial, we will learn how to change the colour of a selected area in Serif's Affinity Photo.
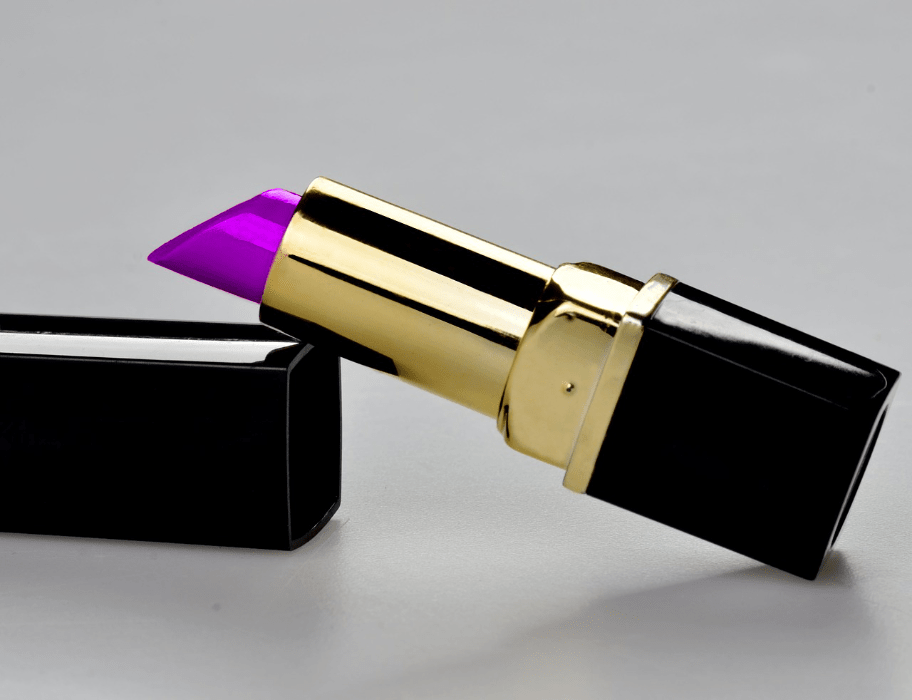
For the purpose of example here, we pick some photo of a lipstick from Pixabay, which is available for free.
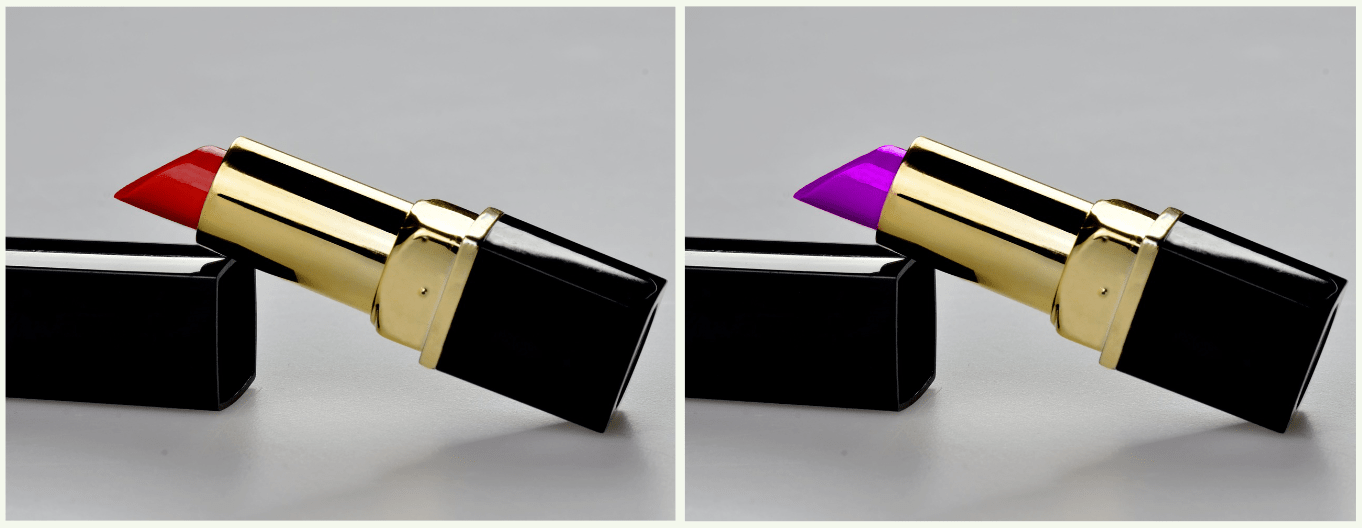
We will change its colour from what look like Bésame Red (left) to a shade of purple (right).
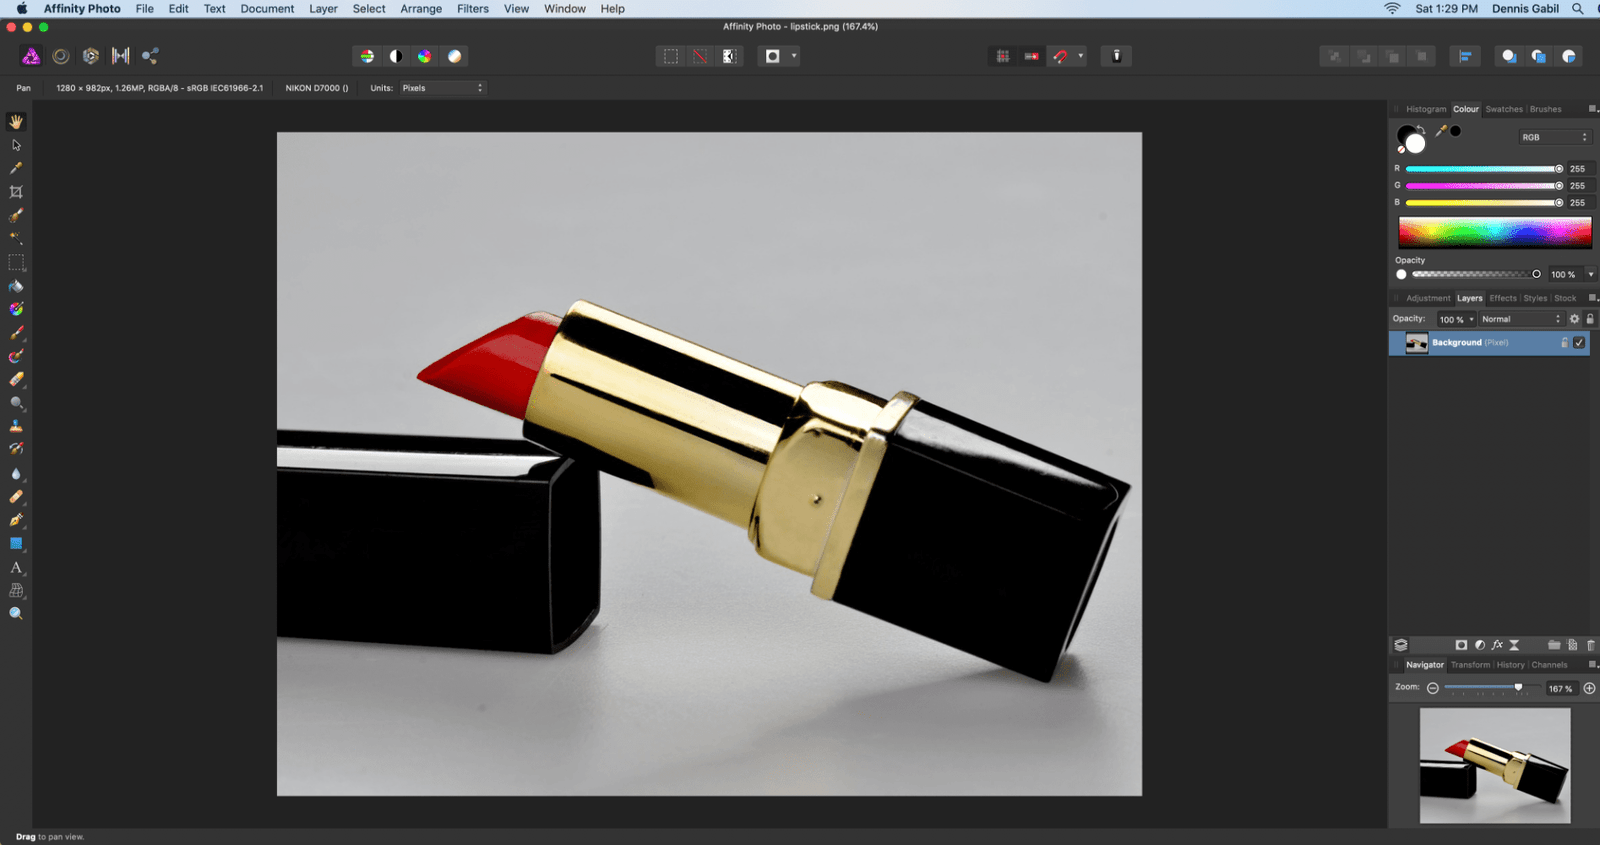
1) Launch Affinity Photo. By default, you will be in the Photo Persona.
2) Click File > Open... and open the lipstick photo you just downloaded (you can also press ⌘ + O)
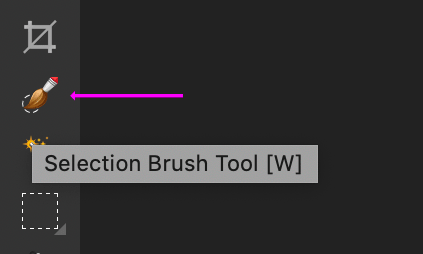
3) Pick the Selection Brush Tool.
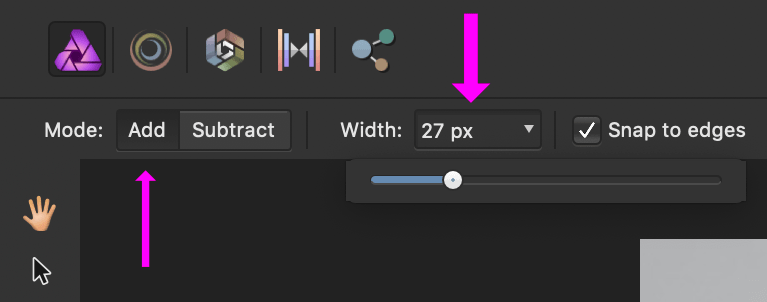
4) In the context toolbar, you will find that the Mode is set to Add by default. The Width field on its immediate right sets the brush size in pixels.
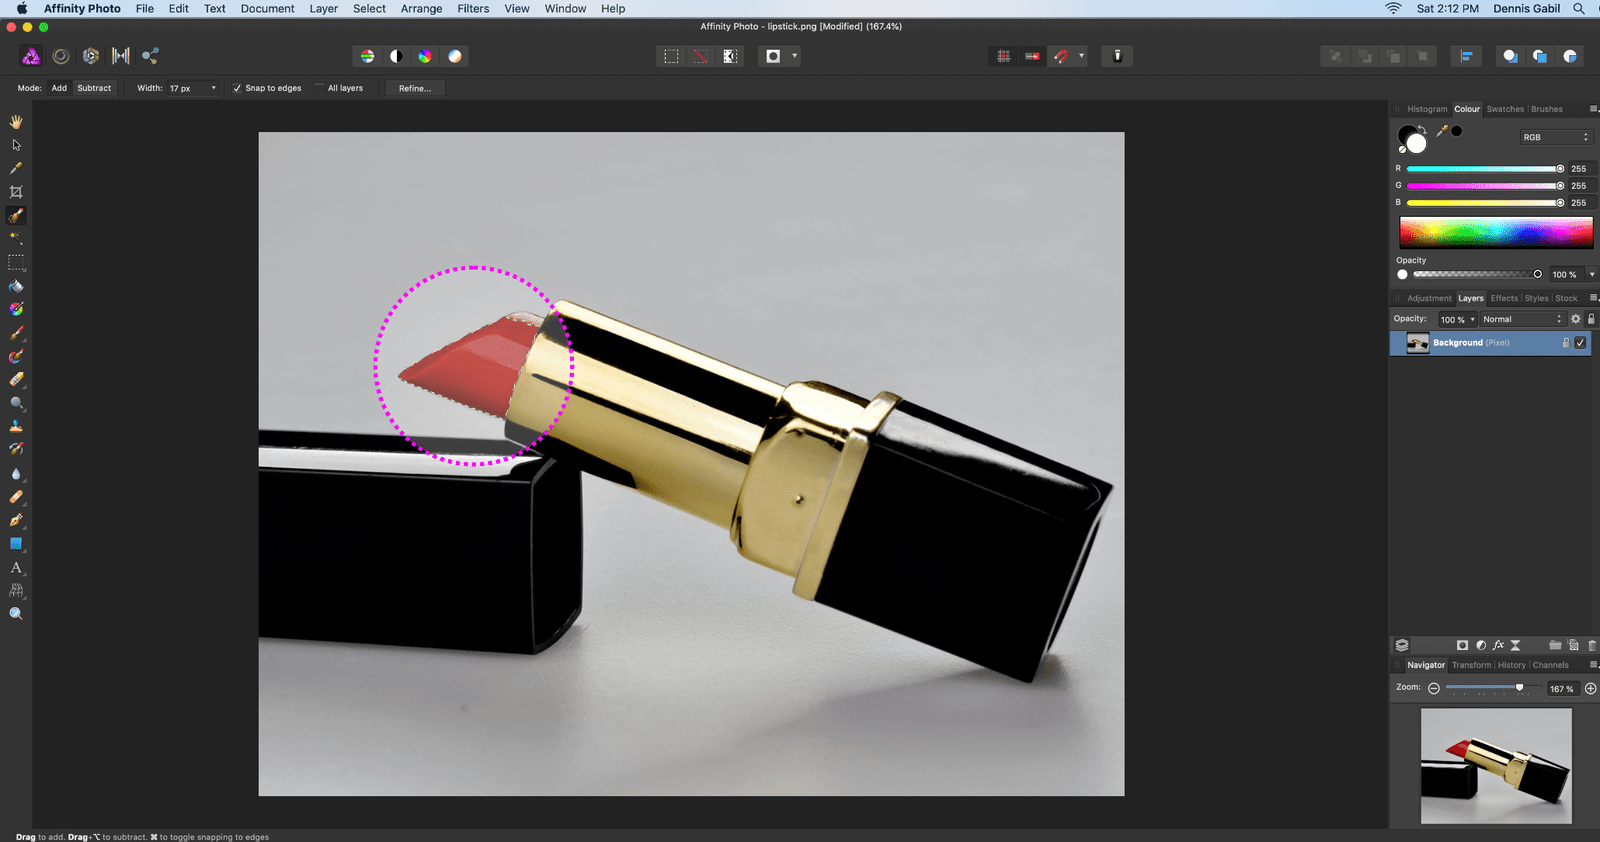
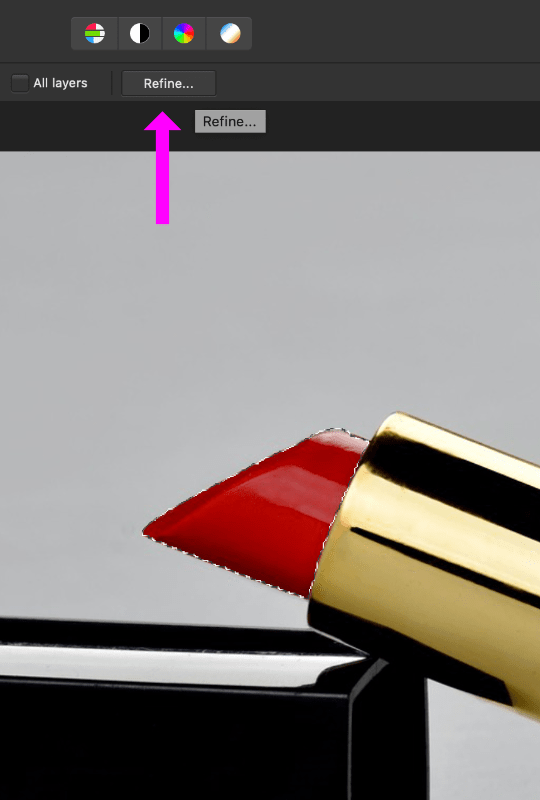
5) Drag over the baton area and trace out a selection.
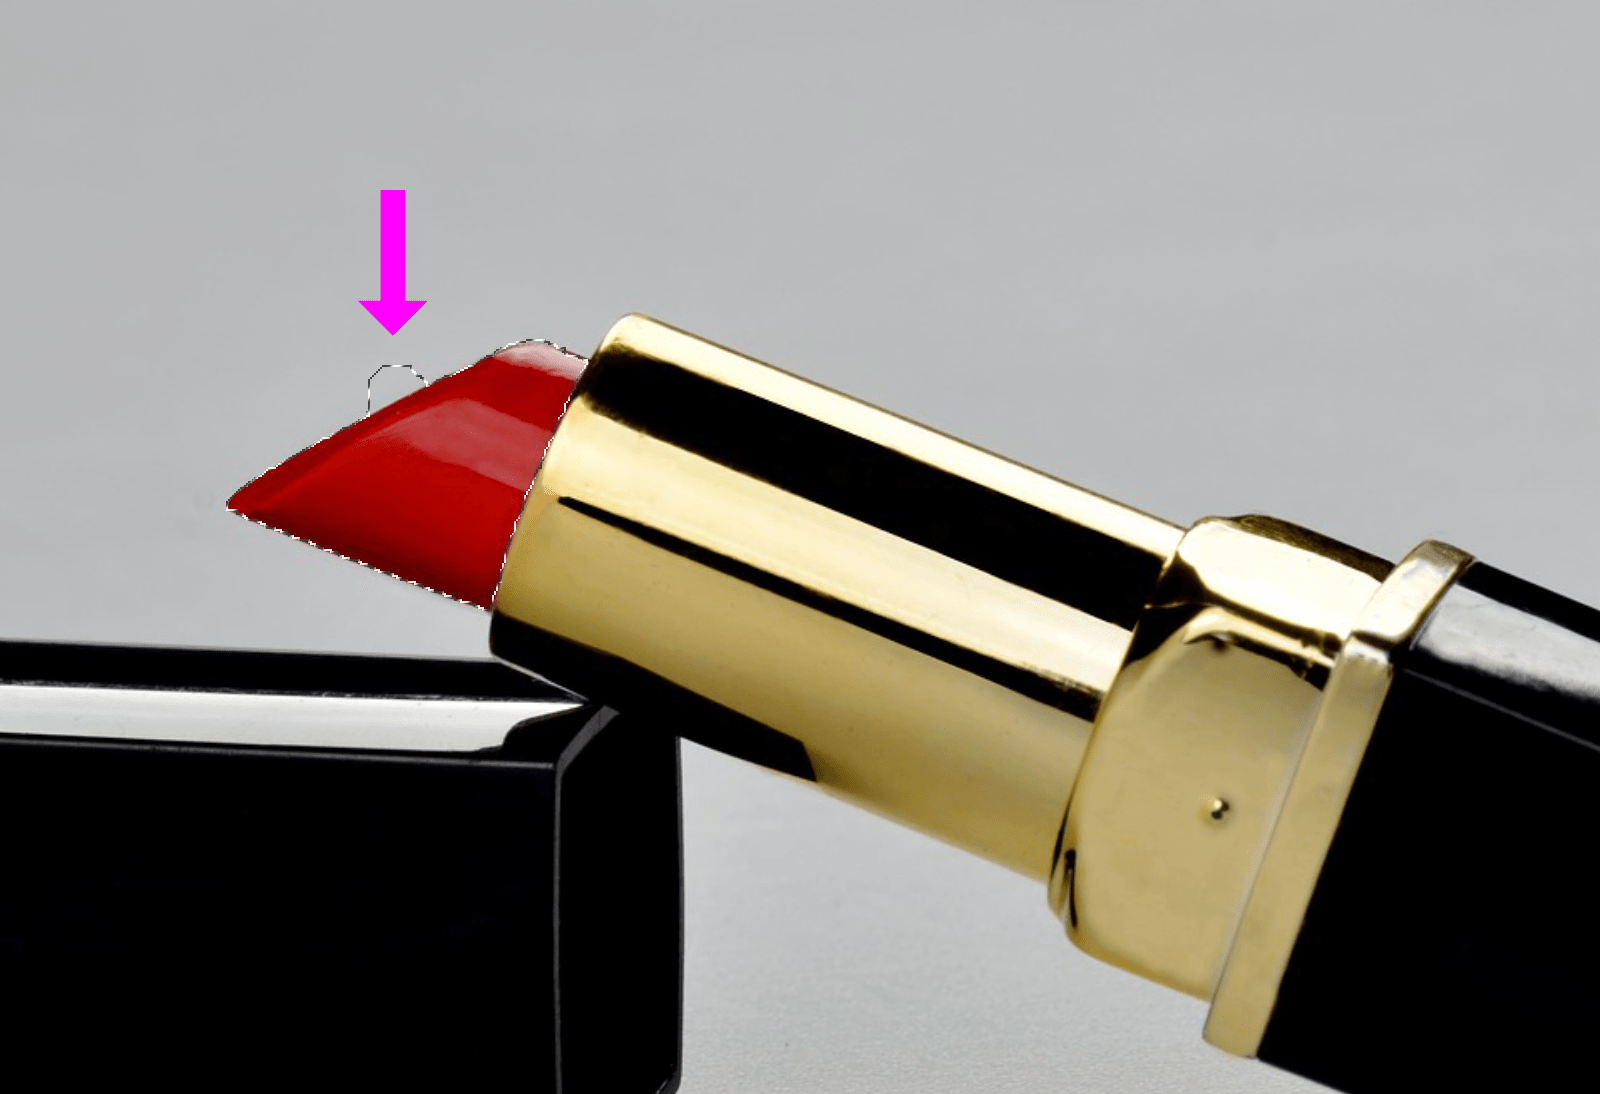
6) Now sometimes there could be a spill over in the selection.
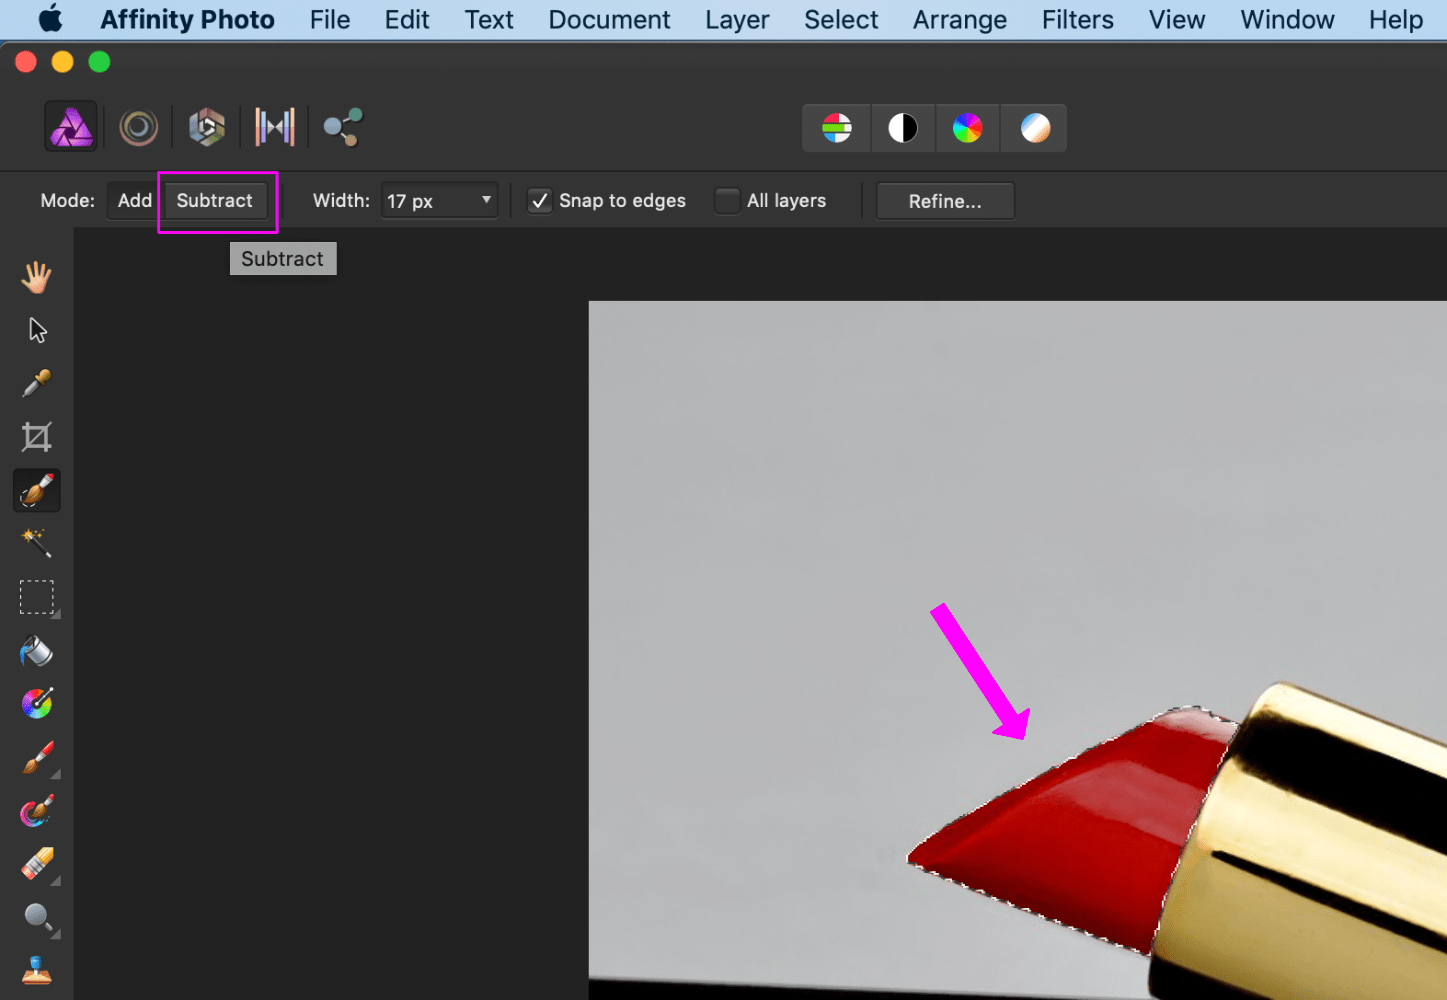
7) In such cases, set the Mode to Subtract in the context toolbar and reduce the spill.
8) Now this selection can be refined further. Though not a necessity in this case, but if you wish to you can click on the Refine... button in the context toolbar and proceed. An example of such case is already detailed in the previous tutorial here.
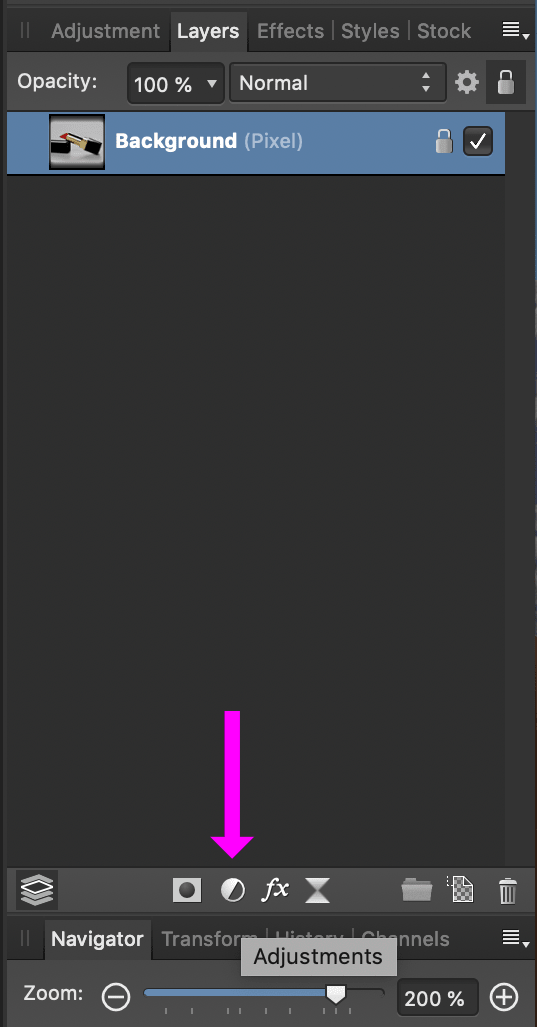
9) Click on Adjustments located at the bottom of the Layers panel.
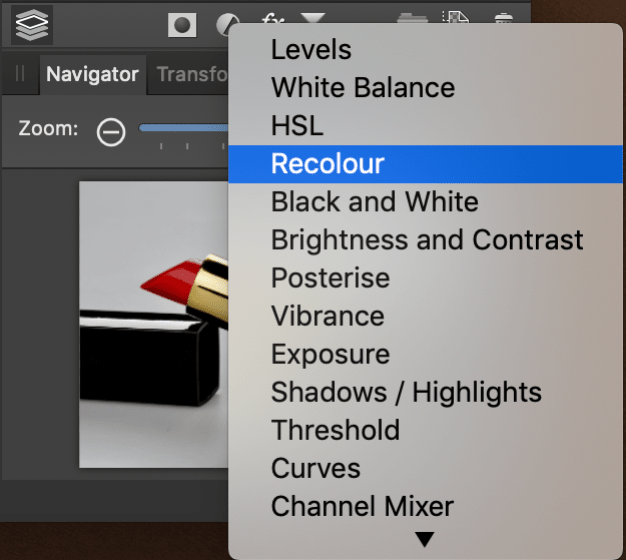
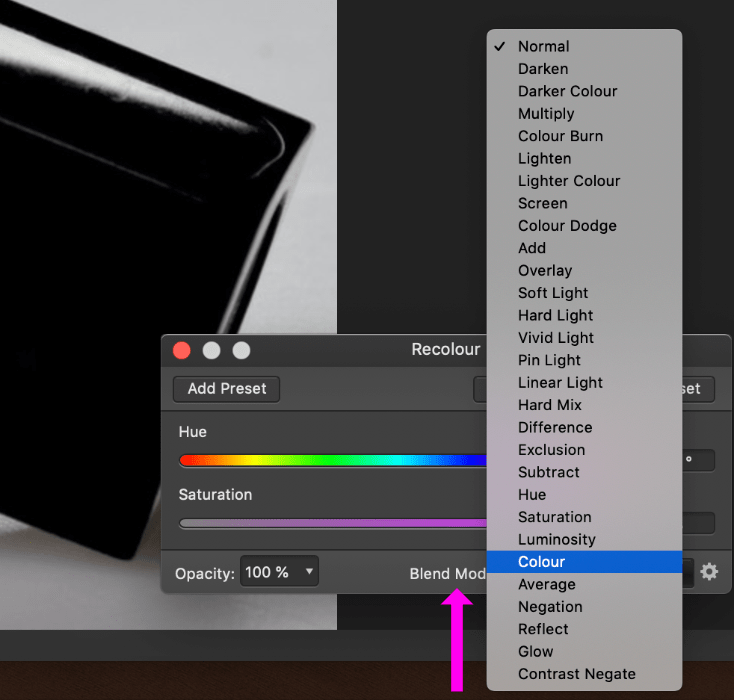
10) Select Recolour.
11) Move the Hue slider to the purple shade area (or a hue of your choice).
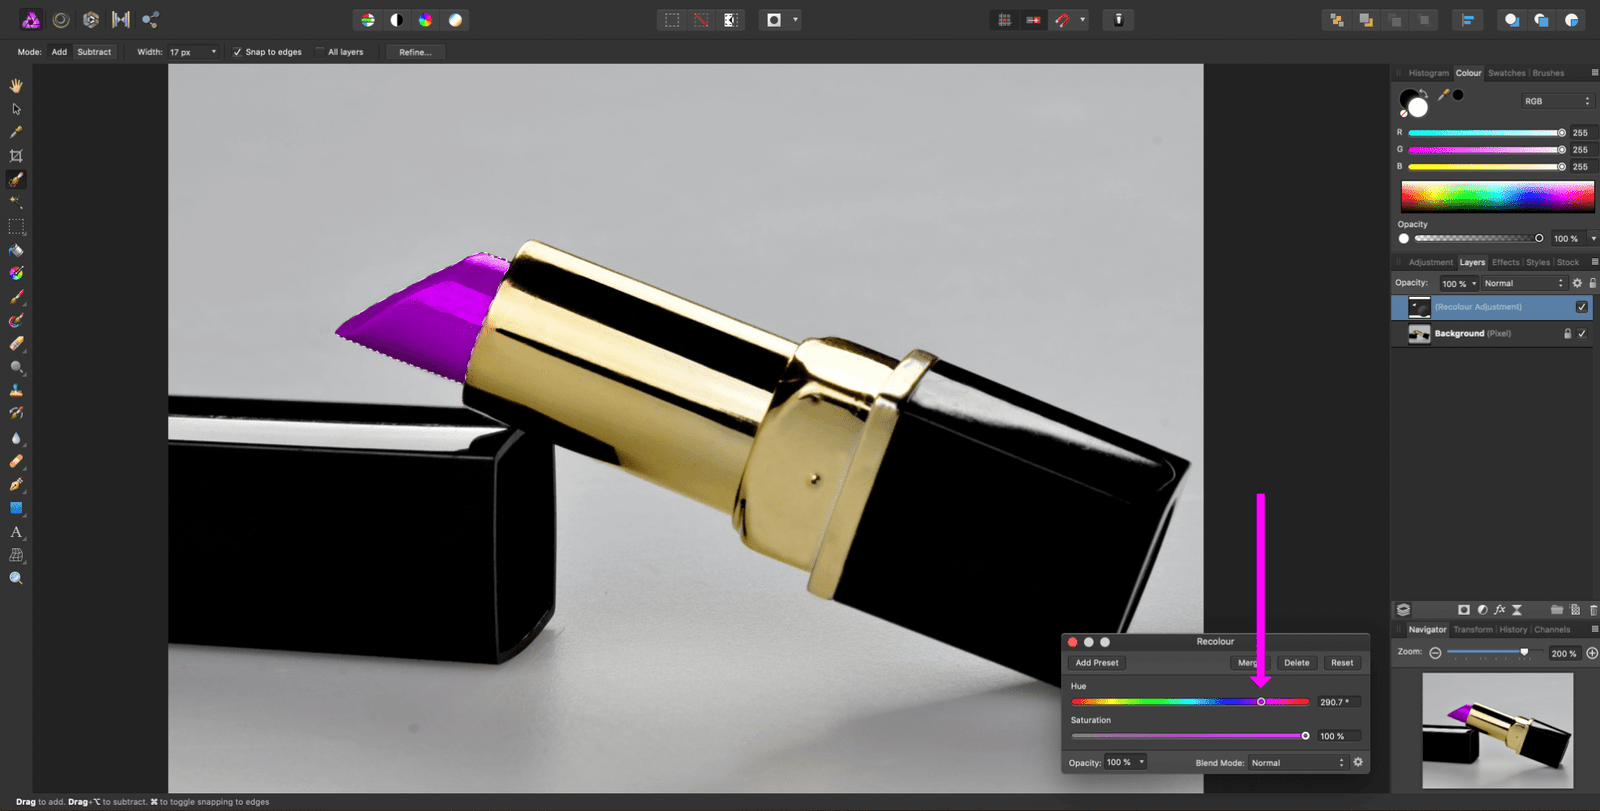
12) Set the Blend Mode to Colour.
13) We need to deselect the selection. Click on the Deselect icon at the top toolbar or press ⌘ + D.
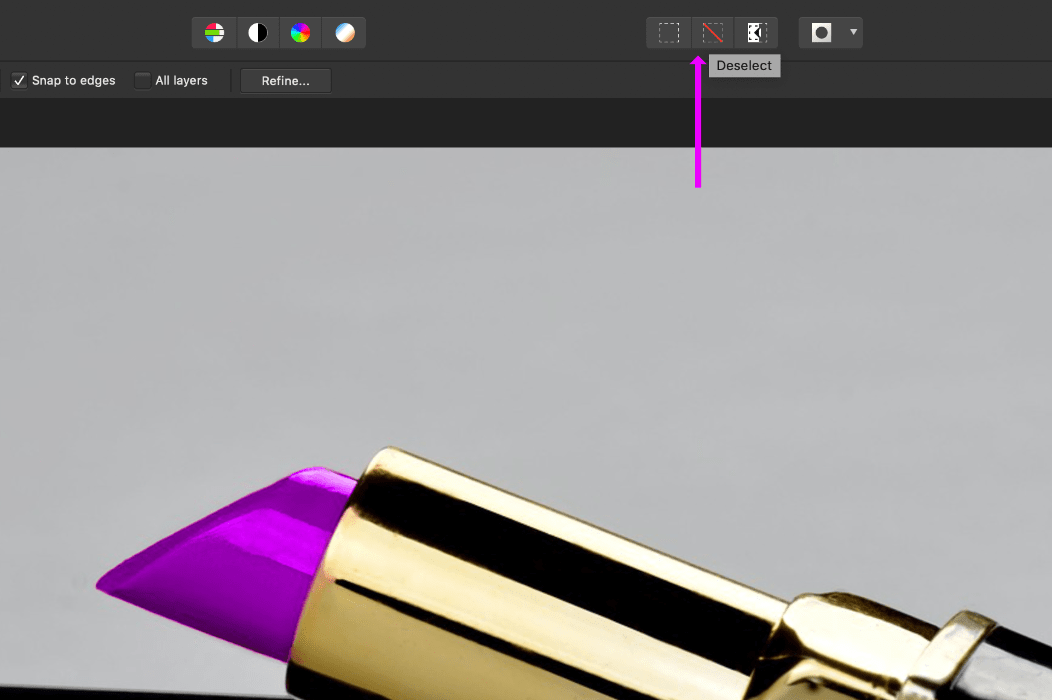
Here we get our recoloured lipstick!